
QuickDine Installation Guide
This documentation will guide you through the installation and setup process for QuickDine. Follow the steps carefully to ensure a successful installation.
Server Requirements
Before installing QuickDine, please ensure your server meets the following requirements:
Basic Server Setup
Estimated reading: 1 minute
Deployment of Laravel application to a web server so that it's accessible over the internet.
1 Extract Project Files
Retrieve the project zip file from CodeCanyon, then extract it.
Proceed to the following path:
Source Code V0.1 -> QuickDine_POS_KDS_QR_CODE_Restaurant_Management_System_V01 , upload
the
zip file to your Cpanel, and extract it to public_html directory.

Upload ZIP File to Server
2 Extract ZIP File
Extract the zip file to that directory

Extract ZIP File to Directory
3 Create MySQL Database
Create a new database from your server MySQL database.

Creating MySQL Database
4 Configure Database User
Create a DB user and database and assign them to each other.
Configure Database User and Privileges
After all this, you have to just hit your URL in the browser and go on.
Running the Reverb Server
After setting up Reverb during the installation steps, you'll need to execute some additional commands to start the Reverb server:
1 Basic Setup (Development or Simple VPS)
For basic usage, you need to run these two commands on your server:
php artisan queue:work
php artisan reverb:start
2 Advanced Server Setup Recommended
Running the Reverb Server as a background process ensures continuous operation even after you log out of your server session:
nohup php artisan queue:work > queue.log 2>&1 &
nohup php artisan reverb:start > reverb.log 2>&1 &
This will run both processes in the background and save their output to log files for monitoring. You can check the status of these processes using:
ps aux | grep artisan
3 Production Setup with Supervisor
For production environments, it's recommended to use Supervisor to ensure your Laravel queue workers and Reverb server run continuously:
- Install Supervisor on your VPS:
sudo apt-get update sudo apt-get install supervisor
- Configure Supervisor for Laravel Queue: Create a configuration file at
/etc/supervisor/conf.d/laravel-worker.conf:[program:laravel-worker] process_name=%(program_name)s_%(process_num)02d command=php /path/to/your/laravel/artisan queue:work --sleep=3 --tries=3 autostart=true autorestart=true user=yourusername numprocs=1 redirect_stderr=true stdout_logfile=/path/to/your/laravel/storage/logs/worker.log
Replace
/path/to/your/laravelwith the actual path to your Laravel application andyourusernamewith the server user that should run the process. - Configure Supervisor for Reverb: Create a configuration file at
/etc/supervisor/conf.d/reverb-server.conf:[program:reverb-server] command=php /path/to/your/laravel/artisan reverb:start --port=6001 autostart=true autorestart=true user=yourusername redirect_stderr=true stdout_logfile=/path/to/your/laravel/storage/logs/reverb.log
Again, replace
/path/to/your/laravelandyourusernamewith your actual values. - Update Supervisor: After creating these configuration files, update Supervisor:
sudo supervisorctl reread sudo supervisorctl update
- Start the Processes: Start the managed processes:
sudo supervisorctl start laravel-worker:* sudo supervisorctl start reverb-server
- Verify the Setup: Check that both processes are running:
sudo supervisorctl status
Also check the logs in your Laravel storage directory to ensure there are no errors.
Local Setup (WAMP)
Follow these steps to set up QuickDine on your local machine using WAMP (Windows, Apache, MySQL, PHP) server:
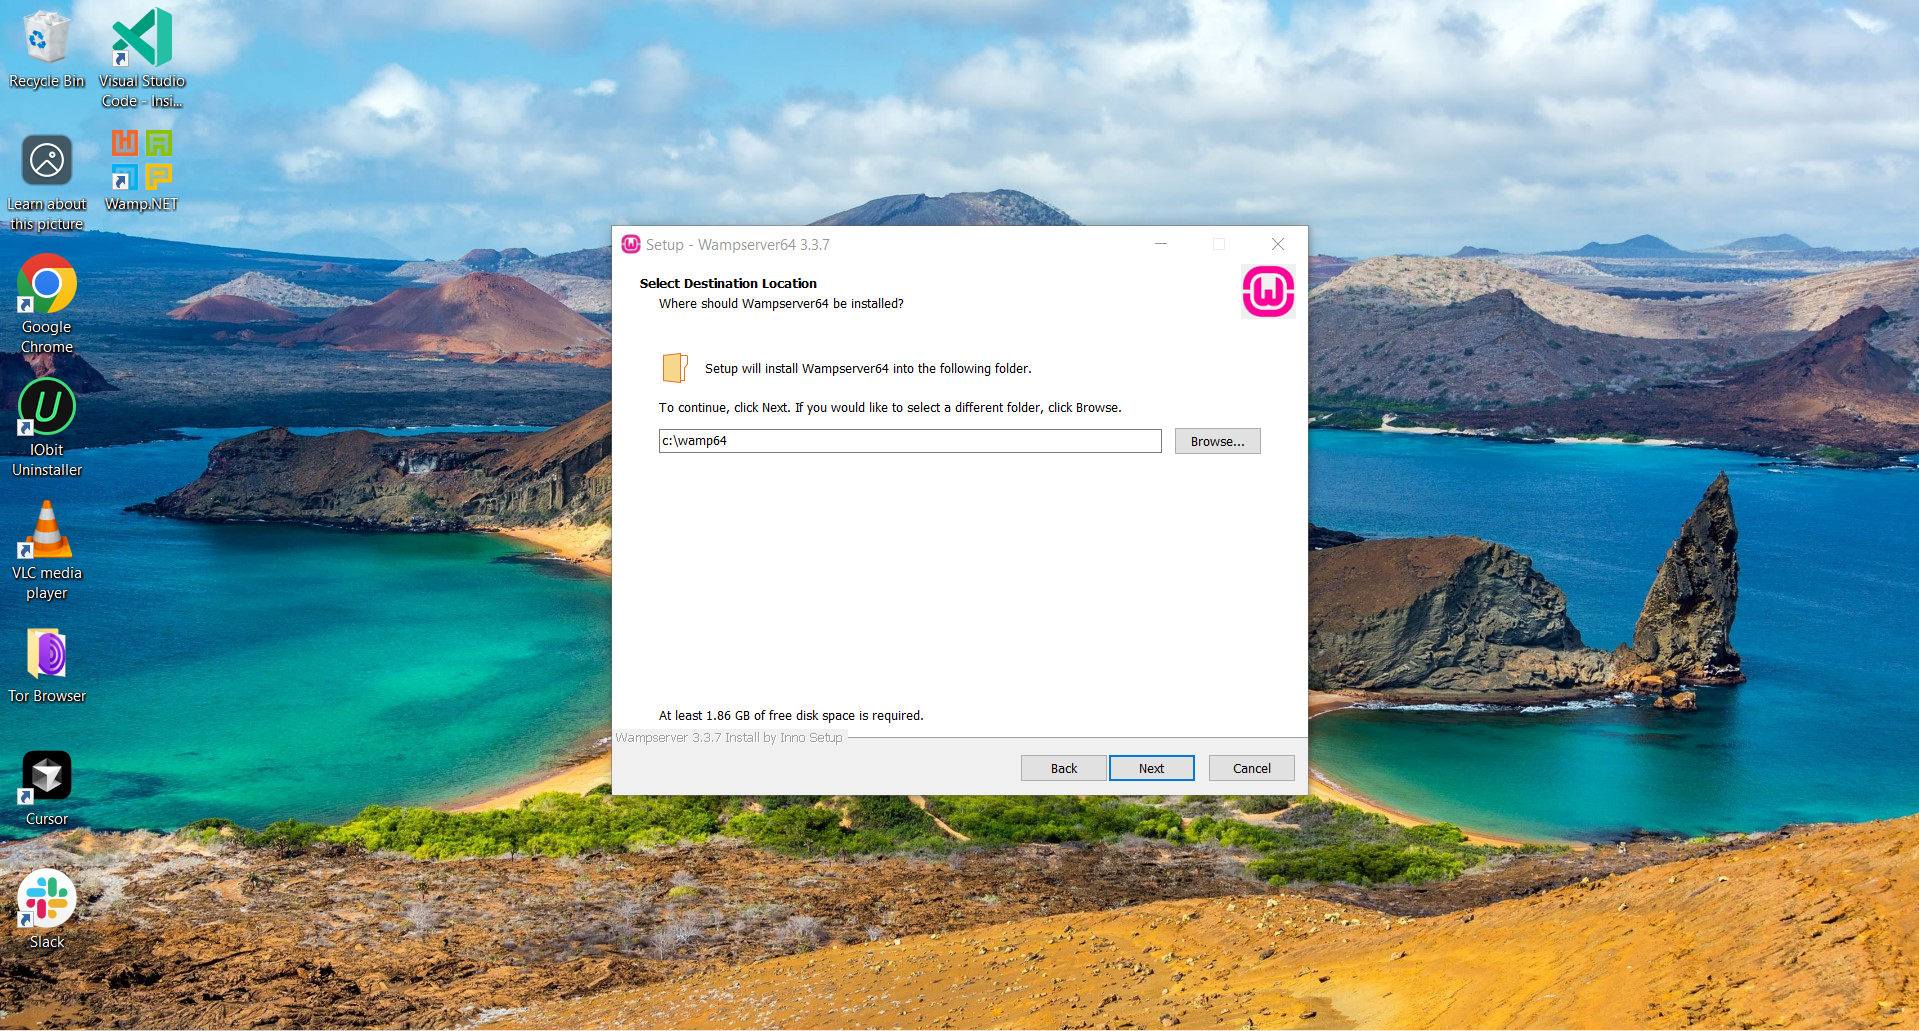
1 Install WAMP Server
Download and install the latest version of WAMP Server from the official website.

WAMP Server Installation
2 Click 'You can download it directly' to download WAMP
Click the link highlighted in the image to start the WAMP server download.
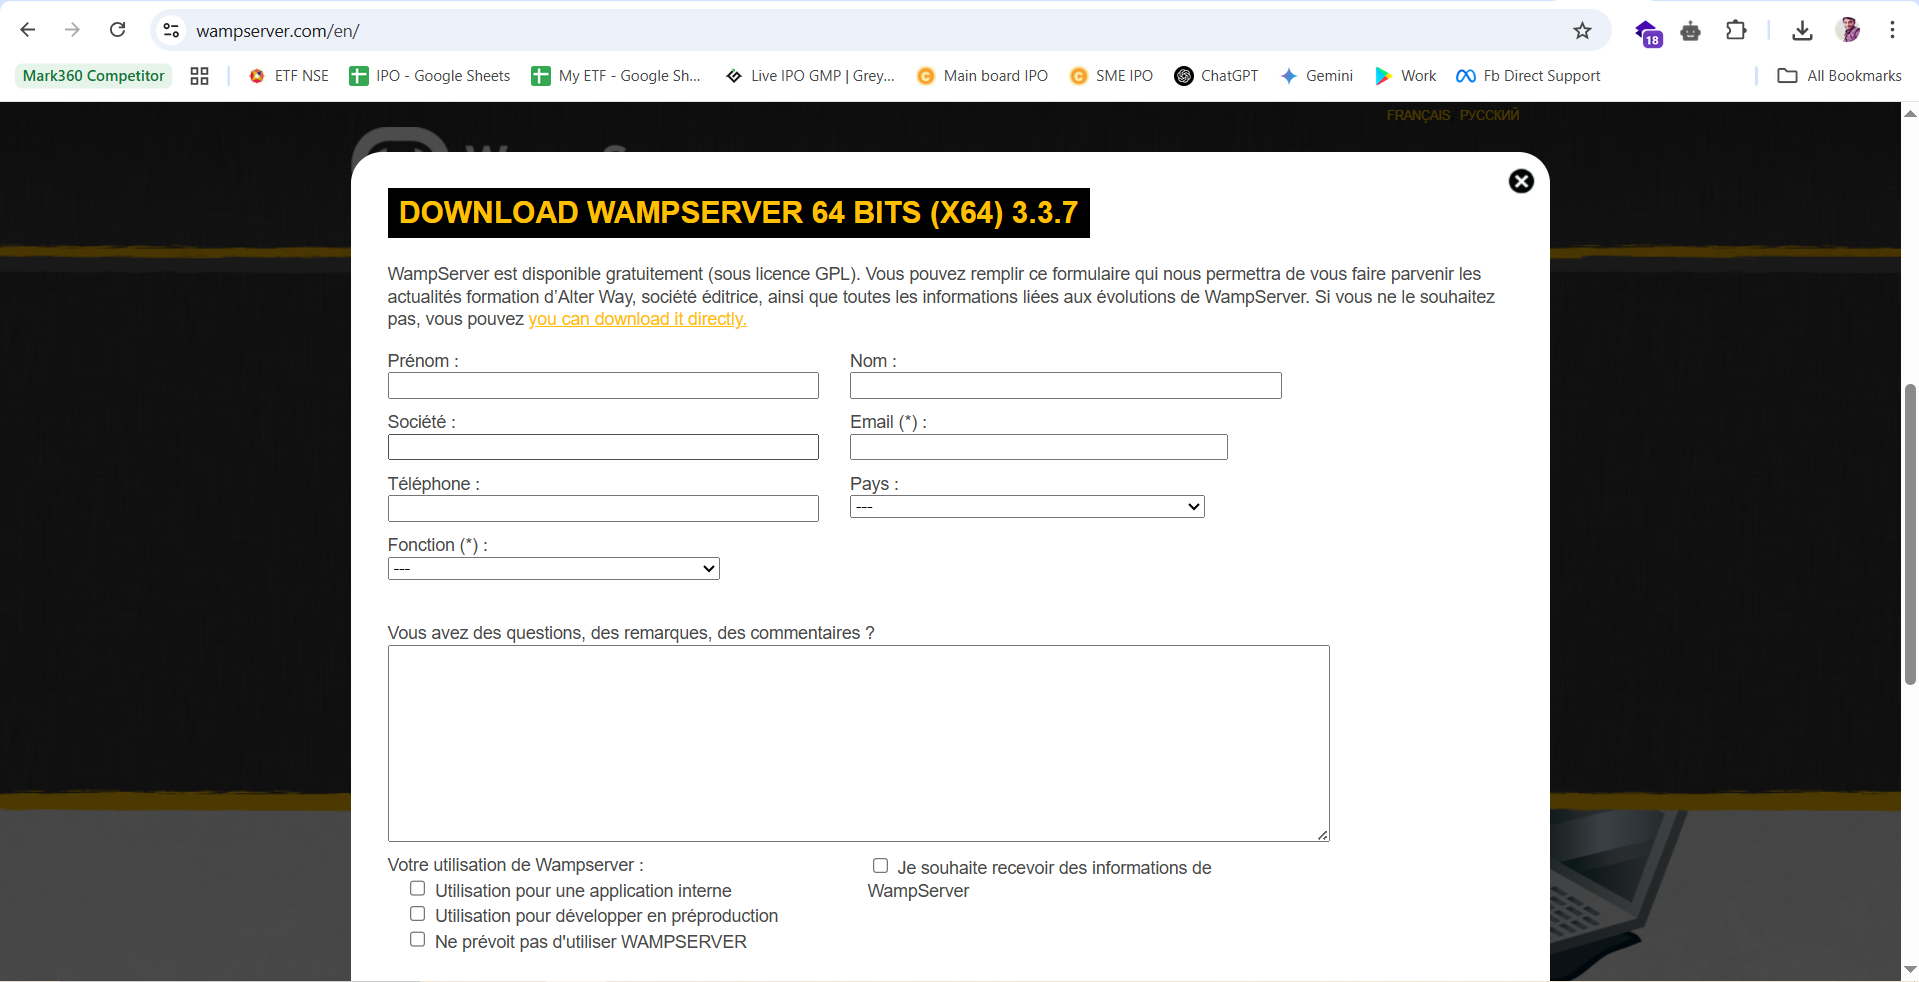
Click 'You can download it directly' link
3 Start WAMP Installation
Go to the folder where you downloaded the WAMP installer and double-click the file to begin the installation process.
Double-click the WAMP installer file
4 Select Installation Language
After starting the installer, you will be prompted to choose the installation language. Select your preferred language and click "OK" to proceed.

Select installation language
5 Accept License Agreement
Read the license agreement, select "I accept the agreement", and click "Next" to continue.

Accept the license agreement
6 Troubleshoot VC++ Redistributable Error
If you encounter an error mentioning vc_redist.x86.exe or Visual C++ 2013
Redistributable (x86) during installation, you need to install this component manually. Download it
from Microsoft's website, install the package, and then restart the WAMP
installation.
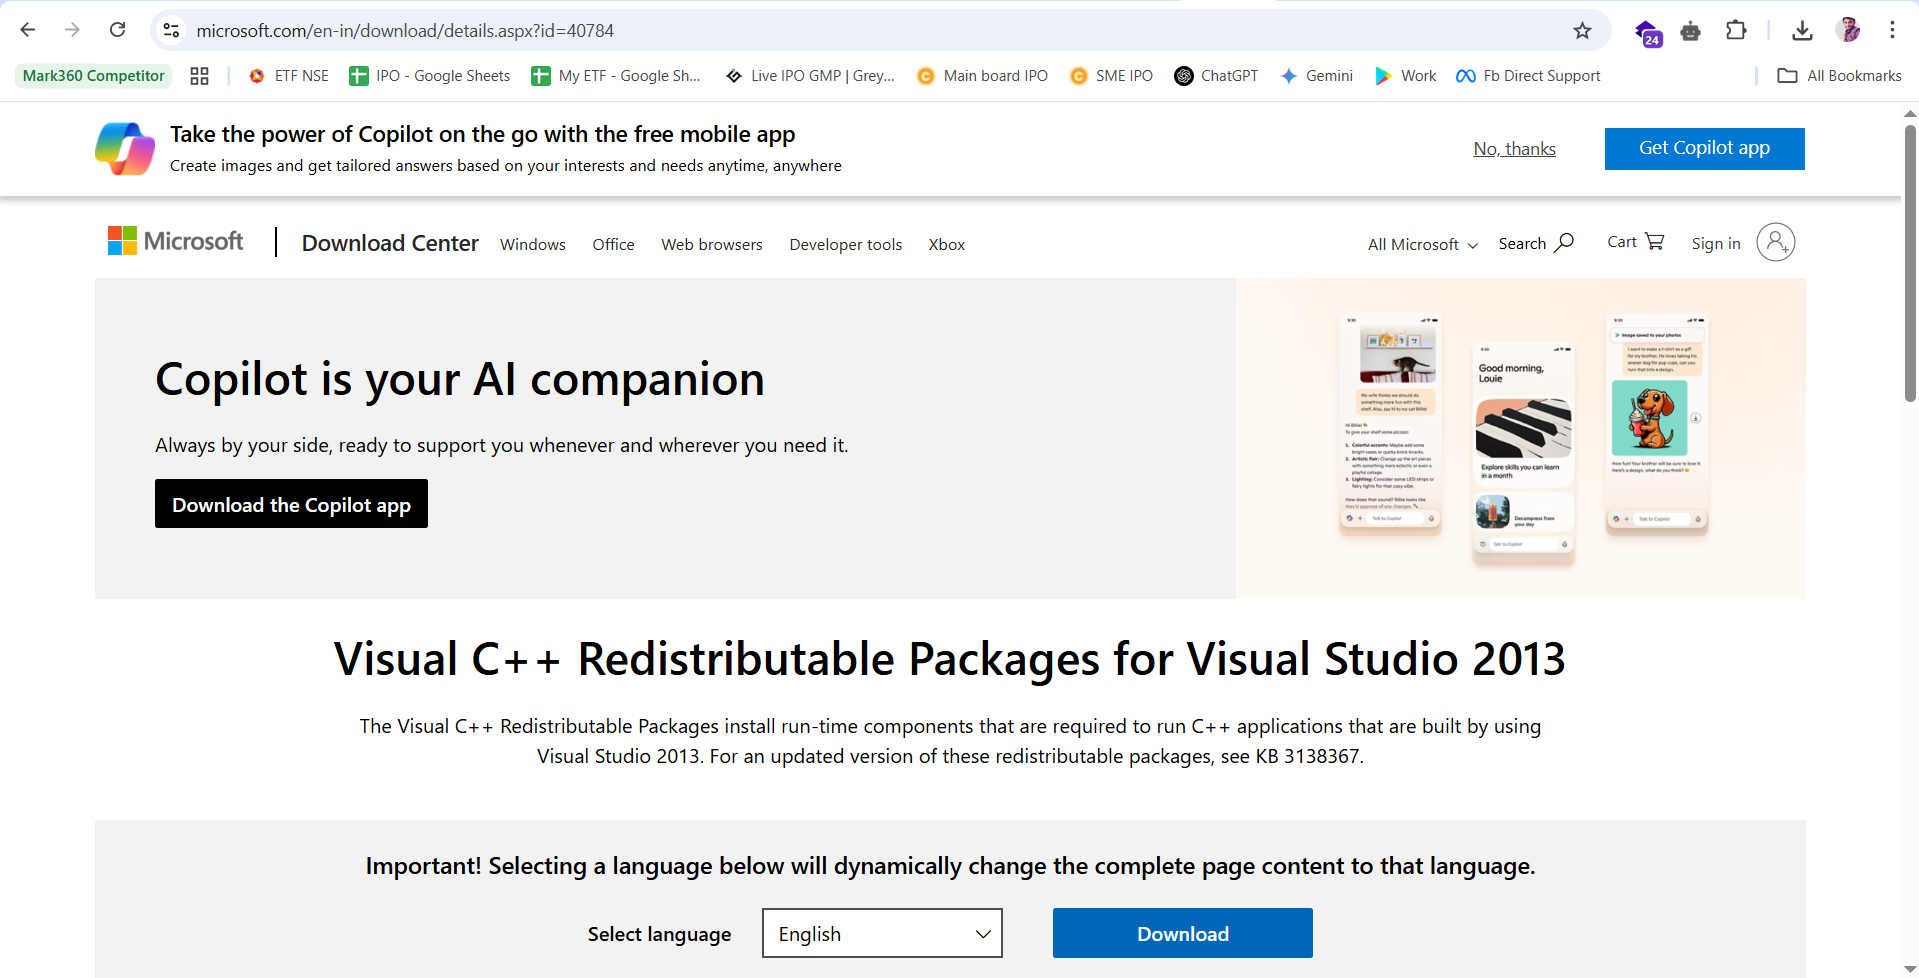
Example of VC++ Redistributable error prompt
7 Complete Component Requirements
After fulfilling all component requirements, you will see a dialog box confirming that all requirements have been met. Click "Next" to continue with the installation process.
Confirmation that all component requirements have been met
8 Choose Default Browser
During the WAMP installation, you'll be prompted to select a default browser that WAMP will use for accessing phpMyAdmin and other web interfaces. Click on "Yes" to proceed with browser selection.

Browser selection prompt during installation
Navigate to your preferred browser's executable file (like Chrome, Firefox, etc.) on your computer. Typically, these are located in your Program Files folder. Select the browser executable file and click "Open".
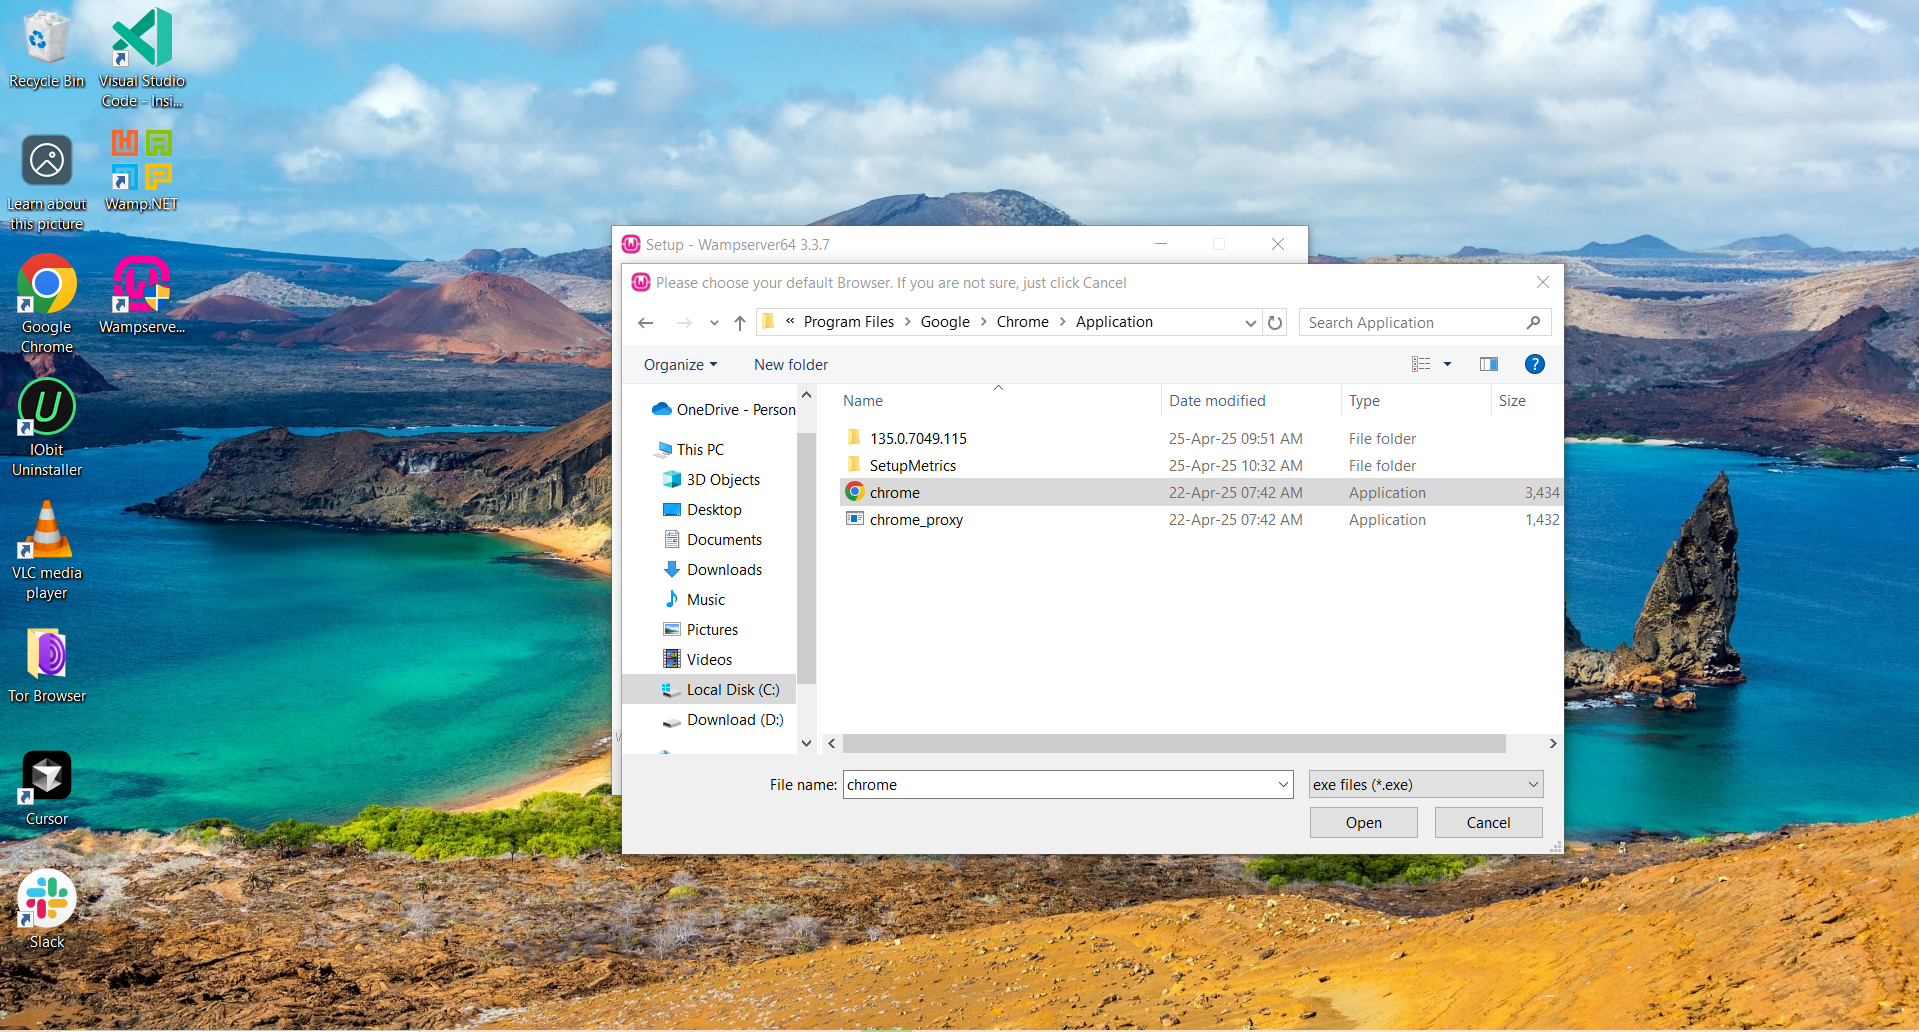
Selecting your preferred browser executable file
9 Choose Default Text Editor
You will also be prompted to select a default text editor for editing configuration files and PHP scripts. This can be any code editor such as Visual Studio Code, Notepad++, Sublime Text, or NetBeans. Choose your preferred editor by navigating to its executable file on your computer and clicking "Open".

Selecting your preferred text editor for code editing
10 Complete Installation and Start WAMP
After completing the installation, you can see the WAMP icon on your desktop. This shortcut will allow you to easily access the WAMP server.
WAMP server icon on desktop after installation
Double click on the WAMP icon to start the WAMP server. This will launch all the necessary services (Apache, MySQL, PHP) needed for your local development environment.

Starting WAMP server by double-clicking the icon
11 Access phpMyAdmin to Create Database
After starting the WAMP server, you can see the WAMP icon in the taskbar (usually in the bottom right corner of your screen). Right-click on this icon to access various options including phpMyAdmin, which you'll use to create your database.

Access phpMyAdmin from WAMP taskbar icon
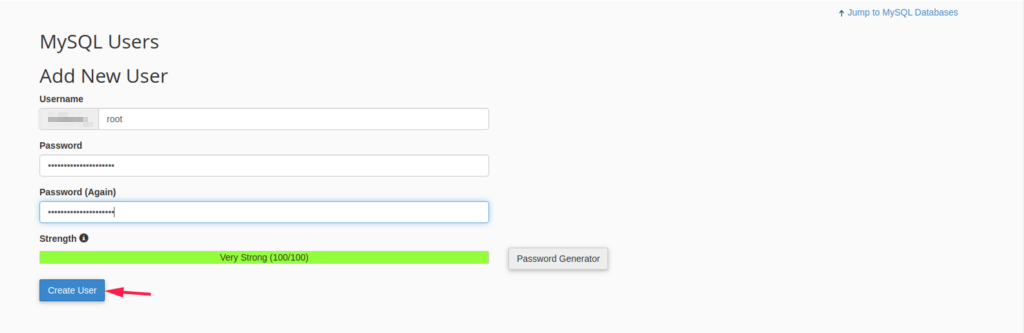
Once you click on phpMyAdmin, your default browser will open with the phpMyAdmin login page. Enter the default credentials to log in:
- Username: root
- Password: (leave blank)
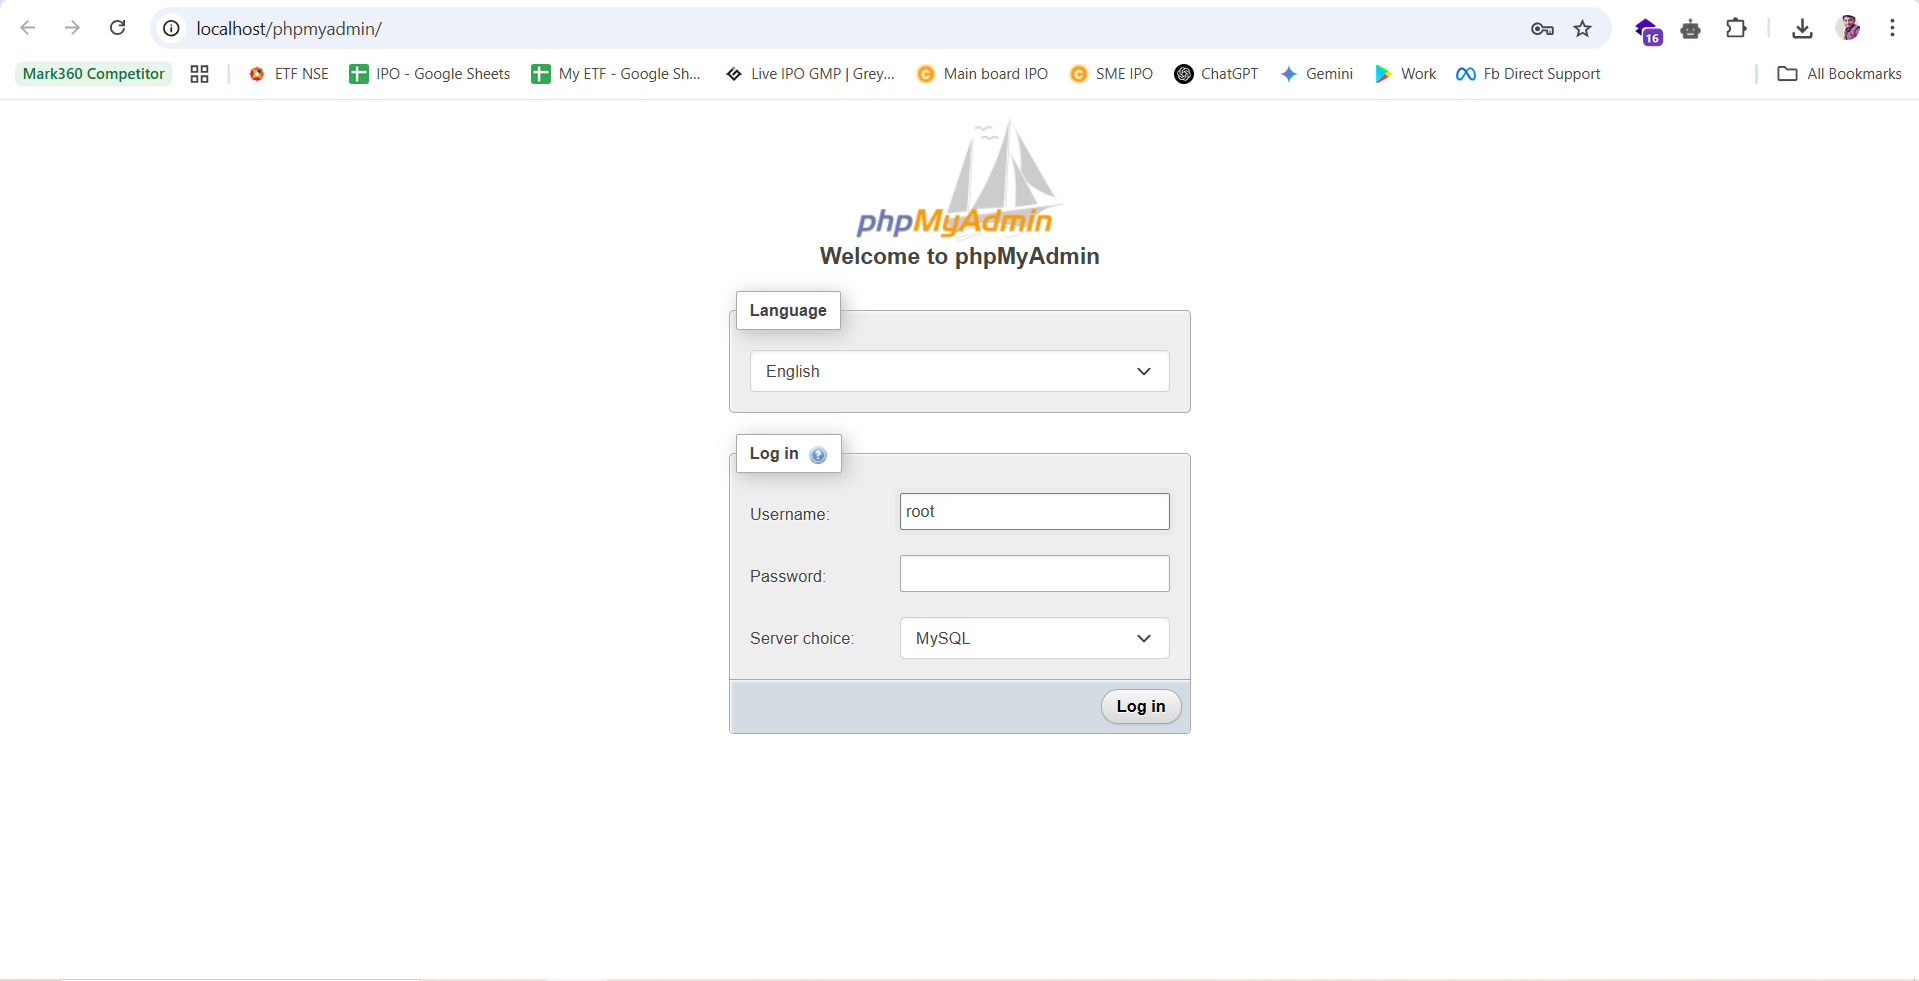
phpMyAdmin interface for database management
12 Create a Database for QuickDine
Now you'll need to create a database for your QuickDine installation. In the phpMyAdmin interface, follow these steps:
- Click on the "Databases" tab at the top of the page
- In the "Create database" section, enter the name for your database (using lowercase letters only, for example: "quickdine")
- For the collation, choose "MariaDB" instead of "MySQL" from the dropdown menu
- Click the "Create" button to create your database
Important: Remember to use lowercase letters for your database name to avoid any potential case sensitivity issues during installation.

Creating a new database in phpMyAdmin
13 Create a Project Folder
Now you need to create a folder for your QuickDine project. Navigate to the WAMP server's www
directory which is typically located at C:\wamp\www or C:\wamp64\www
depending on your installation:
- Open File Explorer and go to your C drive
- Navigate to the wamp folder (or wamp64 if you installed the 64-bit version)
- Open the www folder
- Create a new folder for your QuickDine project
Important: Make sure to use lowercase letters for your folder name (e.g., "quickdine") to avoid any potential issues with case sensitivity when accessing your site locally.

Navigate to the WAMP www folder

Creating a new folder for your QuickDine project
14 Copy and Extract QuickDine Source Files
Now you need to copy the QuickDine source files from your Codecanyon download and extract them into your project folder:
- Locate your downloaded QuickDine source files from Codecanyon
- Copy the source ZIP file to your newly created project folder
- Right-click on the ZIP file and select "Extract Here" from the context menu
- Make sure all files are extracted directly to your project folder (not inside another subfolder)
Important: Ensure that the files are extracted to the top level of your project folder to maintain the correct directory structure required by the application.

Copy the QuickDine source files to your project folder
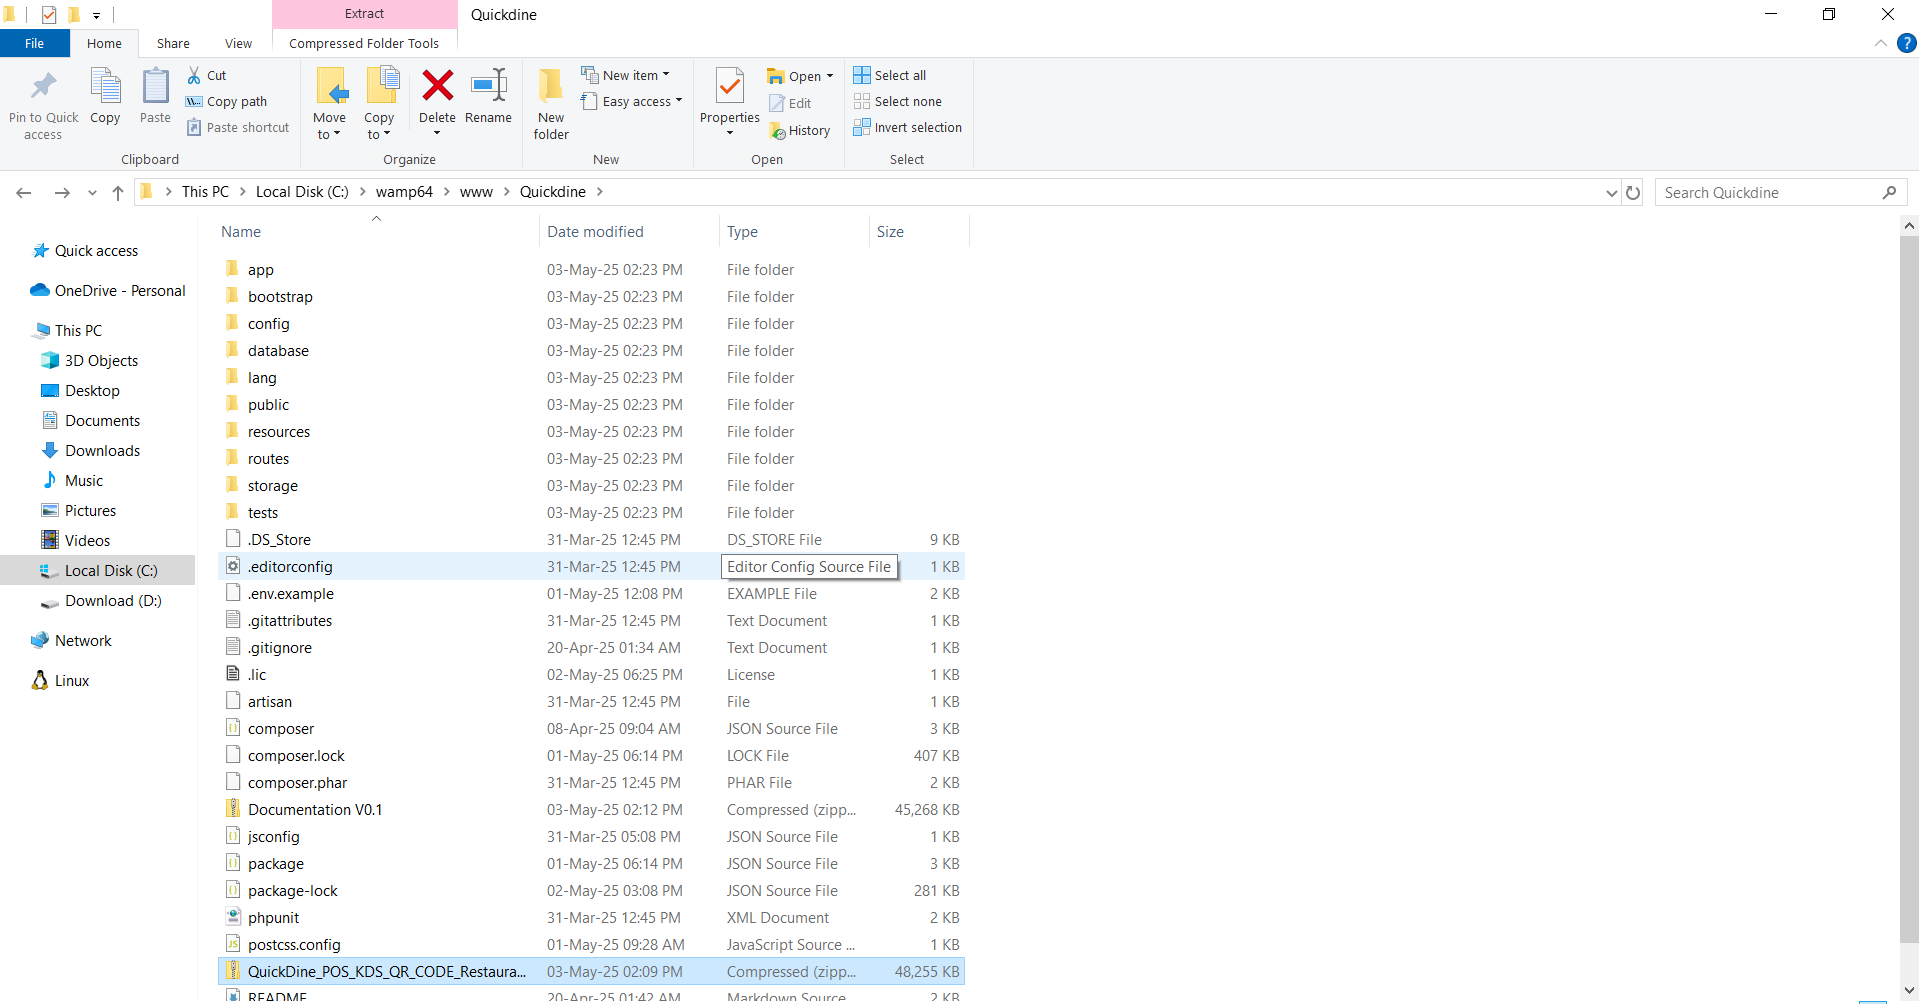
Extract the source files directly into your project folder
15 Open PowerShell in Your Project Folder
Now you need to access the command line to run installation commands. The easiest way is to open PowerShell directly in your project folder:
- Navigate to your project folder in File Explorer
- Hold the Shift key and right-click anywhere in the empty space within the folder
- Select "Open PowerShell window here" from the context menu
This will open a PowerShell window with the current directory already set to your project folder, allowing you to run installation commands directly.

Opening PowerShell window by using Shift + Right-click
16 Install Composer
Composer is required to install PHP dependencies for QuickDine. If you don't have Composer installed on your system, follow these steps:
- Visit getcomposer.org/download in your browser
- Follow the instructions to download and install the Composer installer
- After installation, return to your PowerShell window in your QuickDine project folder
- Run the
composer installcommand to install the PHP dependencies
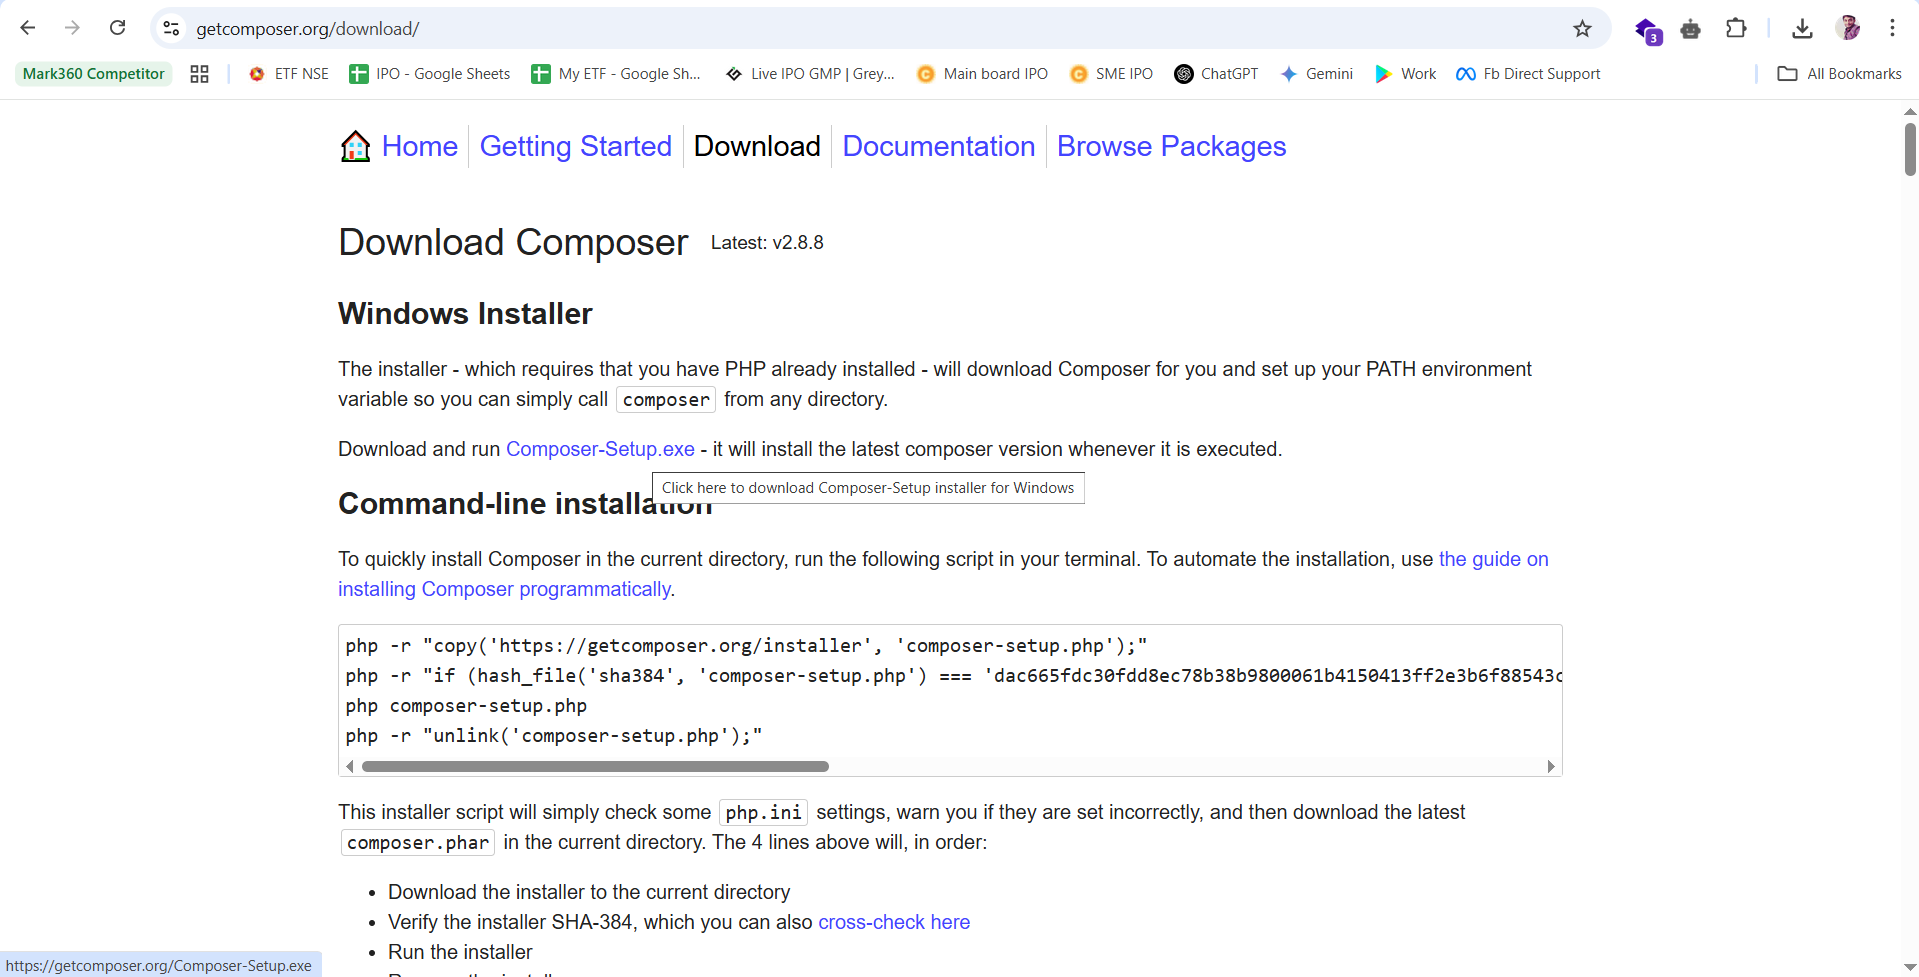
Composer download page
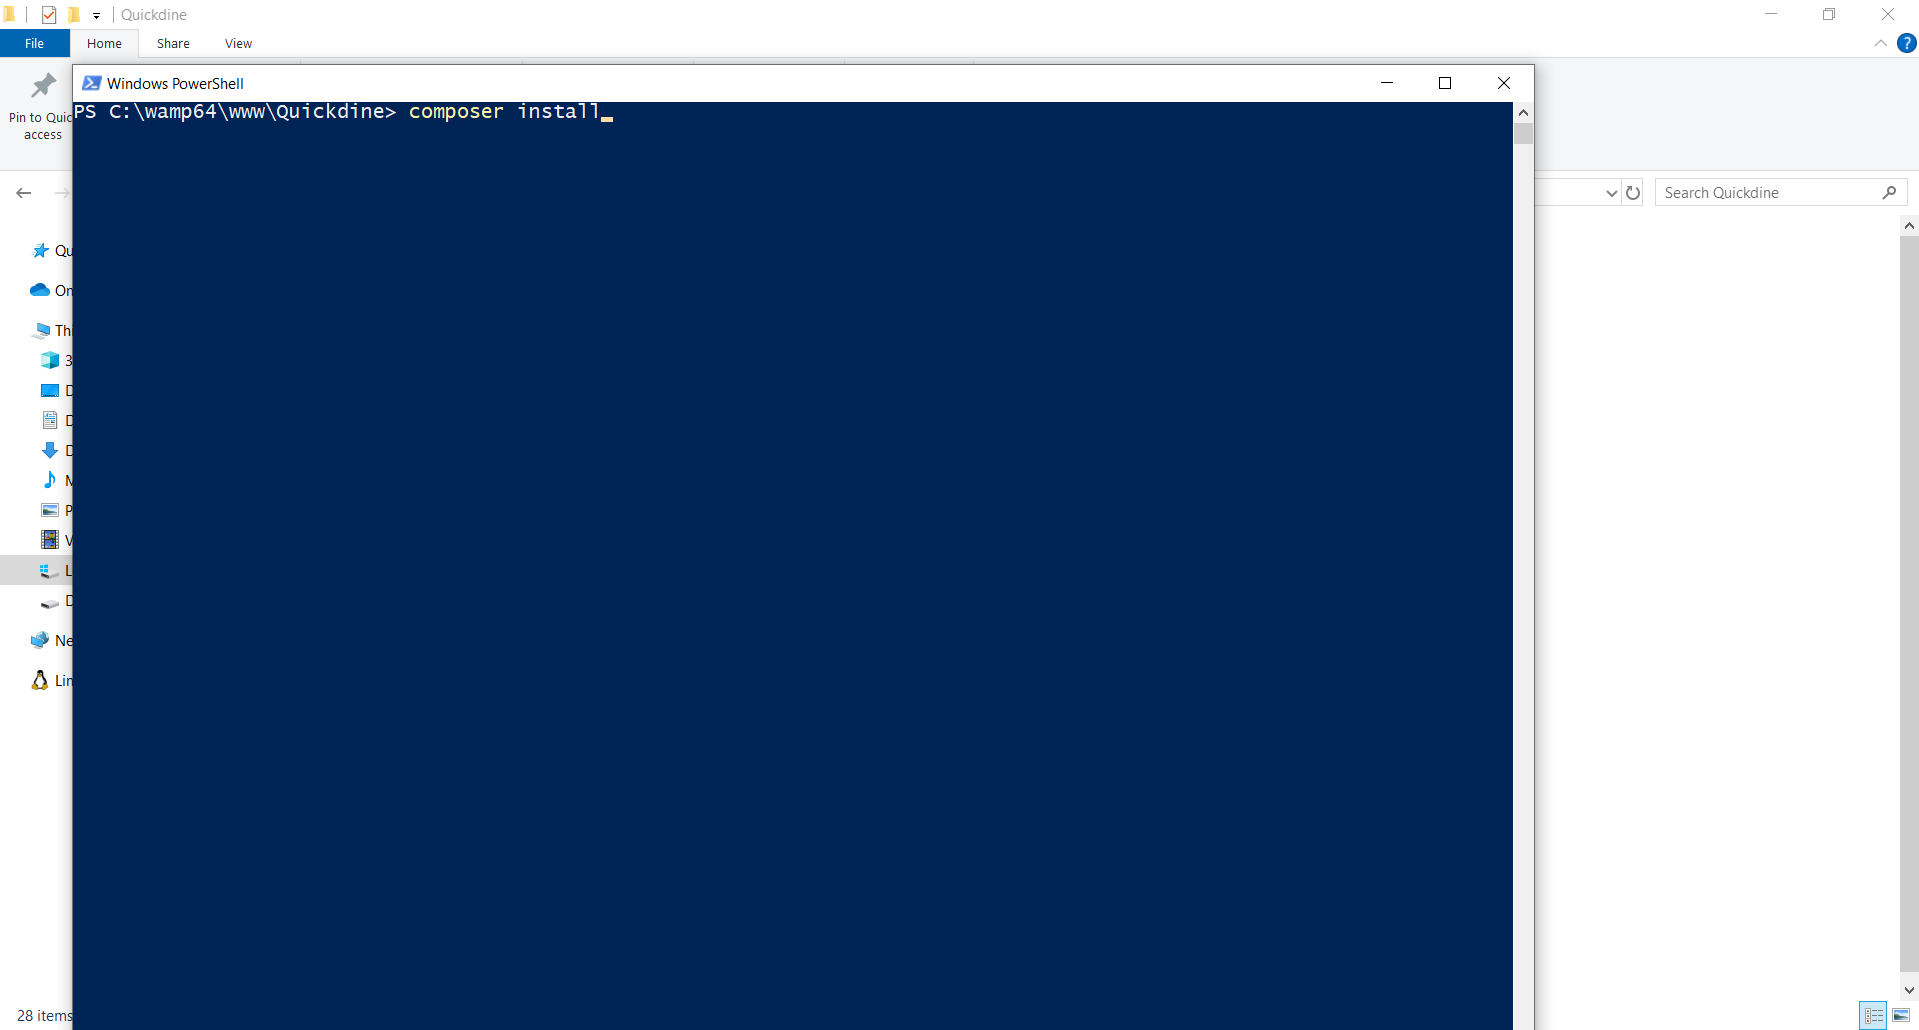
Running the 'composer install' command in PowerShell
17 Install Node.js
Node.js is required to compile the front-end assets for QuickDine. If you don't have Node.js installed on your system, follow these steps:
- Visit nodejs.org/en/download in your browser
- Download the Windows installer for Node.js LTS (Long Term Support) version
- Run the installer and follow the installation instructions
- After installation, return to your PowerShell window in your QuickDine project folder
- Run the
npm installcommand to install the JavaScript dependencies
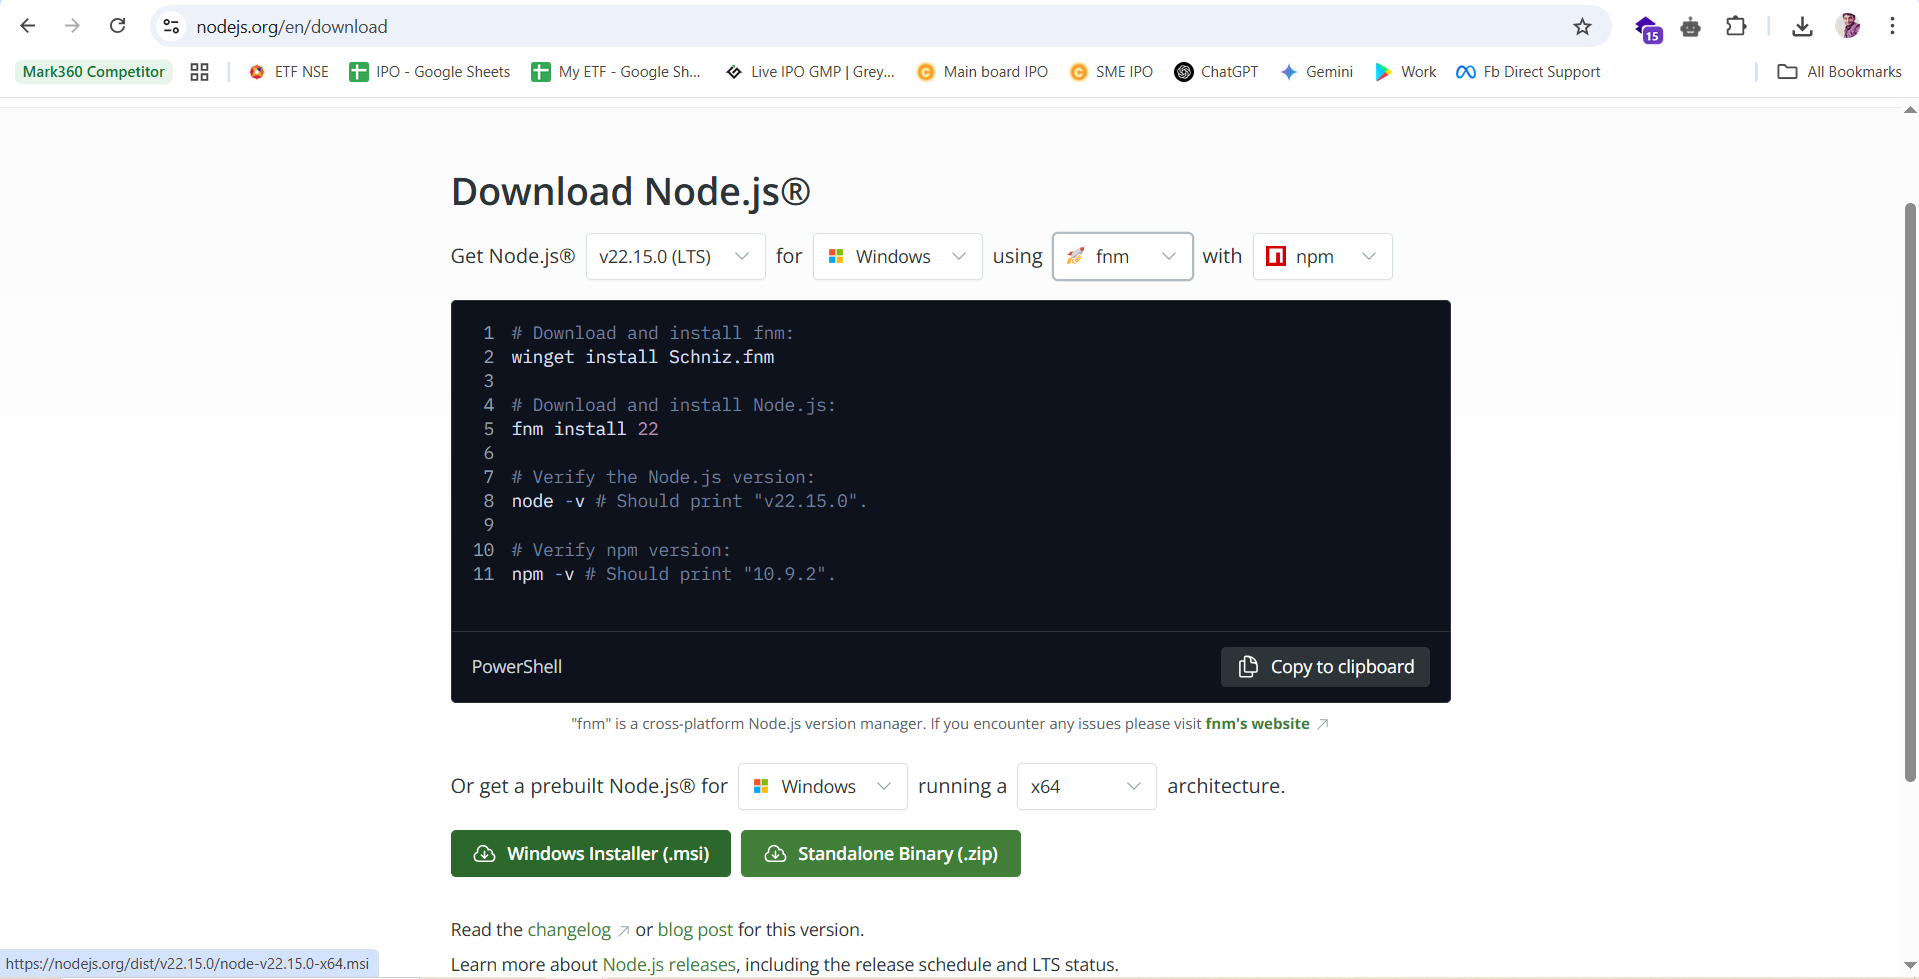
Node.js download page

Running the 'npm install' command in PowerShell
18 Access the Installation Wizard
Now that you have set up your local environment and installed all dependencies, you're ready to access the QuickDine installation wizard:
- Make sure your WAMP server is running (green icon in the taskbar)
- Open your browser and navigate to your project by typing
http://localhost/quickdine/public/installin the address bar (replace "quickdine" with your actual folder name) - The QuickDine installation wizard should now appear, allowing you to complete the setup process
Follow the on-screen instructions in the installation wizard to complete the setup of your QuickDine application.
Opening the installation wizard in your browser
Installation Steps (Wizard)
1 Access Installation Wizard
Navigate to your domain to access the installation wizard:
http://your-domain.com/install
Make sure you have properly configured your web server to point to the public directory of QuickDine.
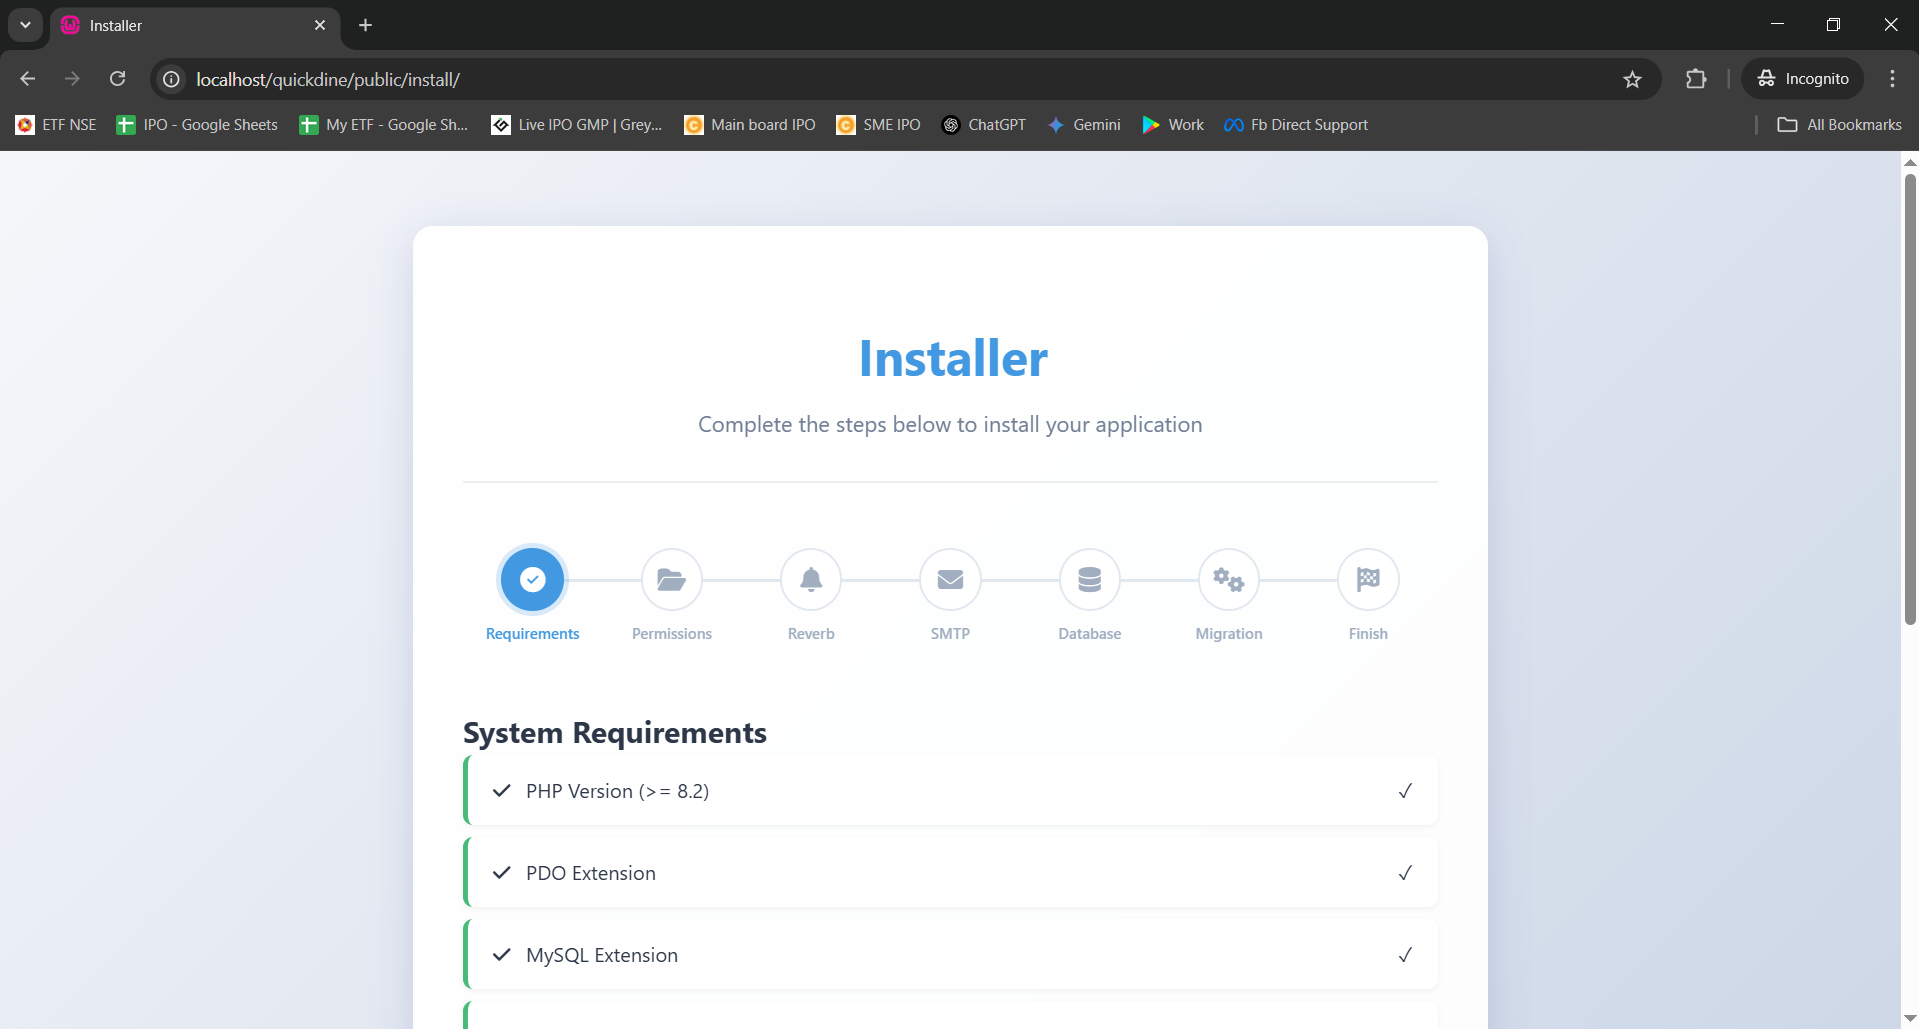
2Requirements Check
The system will check if your server meets all the necessary requirements:
Requirements Check - Starting point of installation
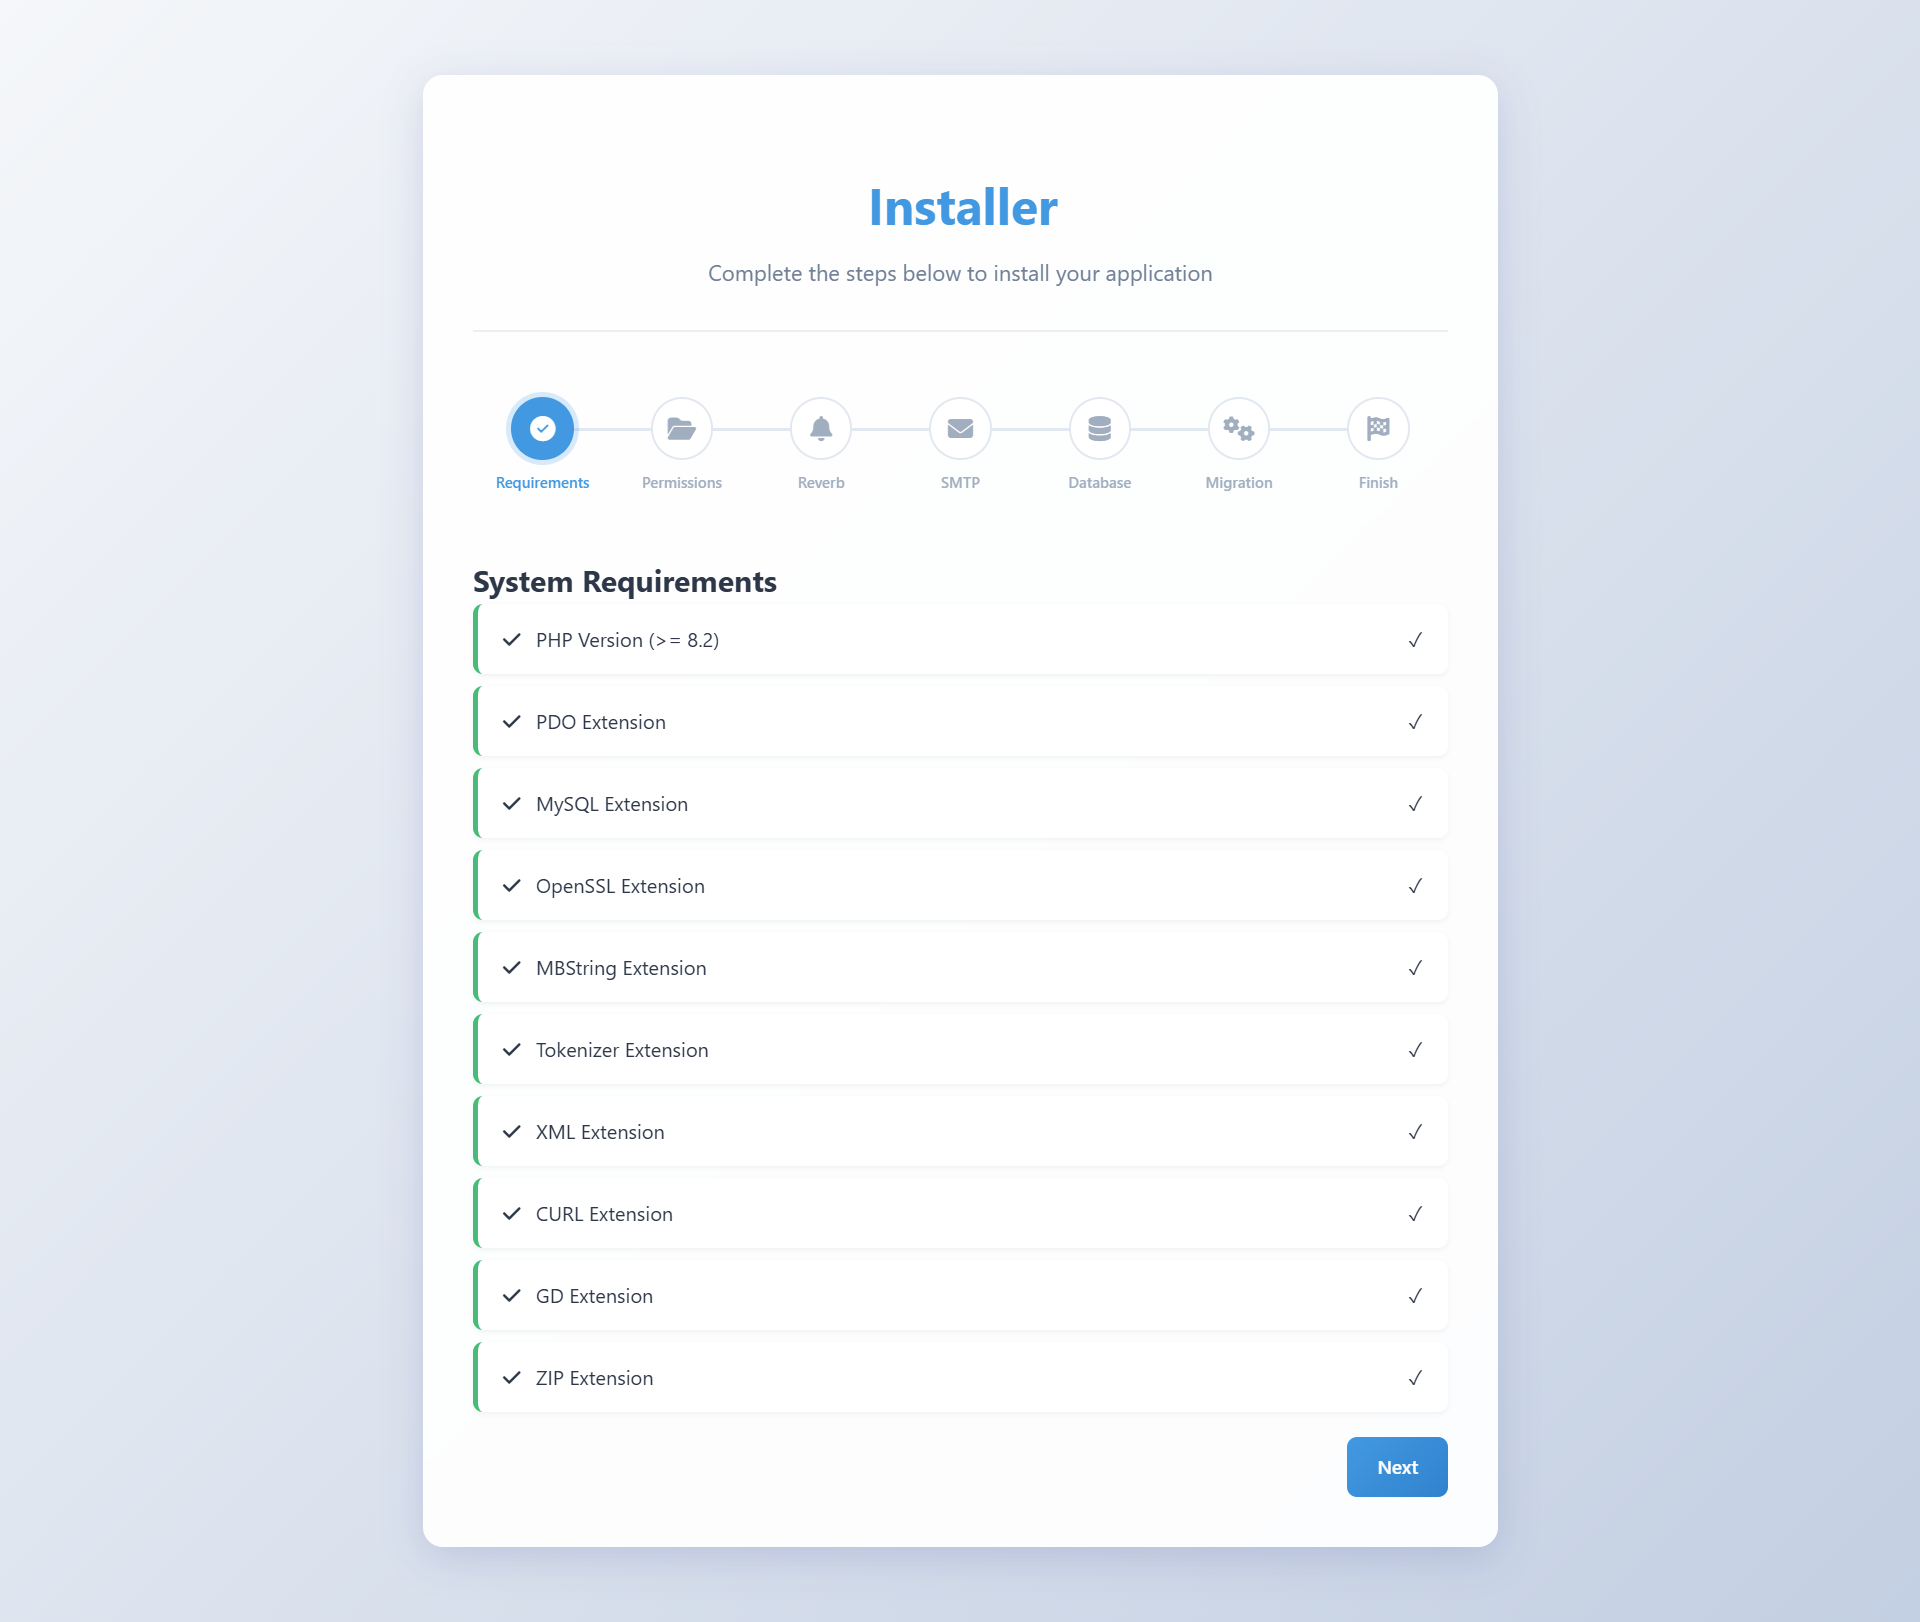
3 Directory Permissions
Ensure these directories have write permissions (775):
storage/ bootstrap/cache/ public/uploads/
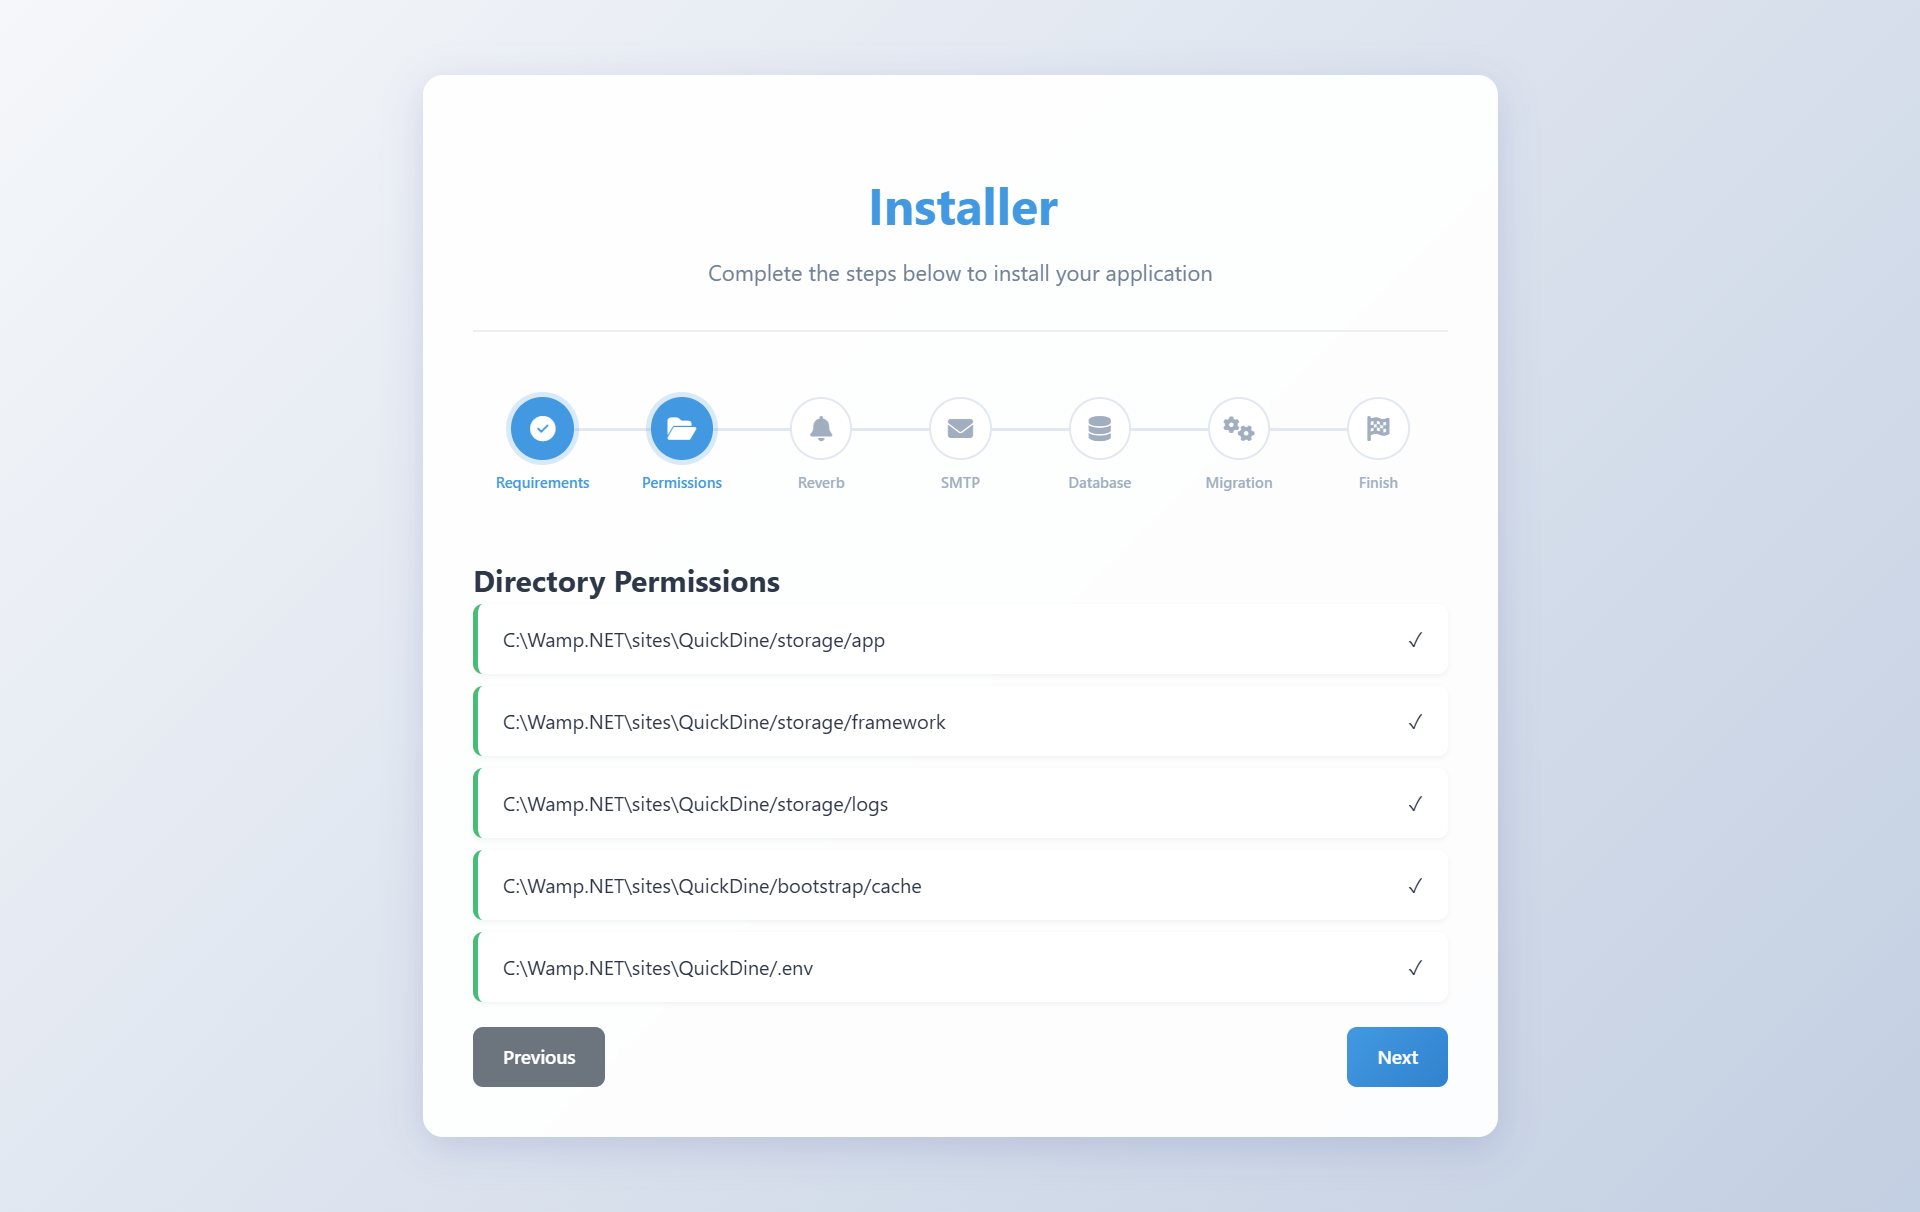
Directory Permissions Check
4 Reverb Configuration (optional)
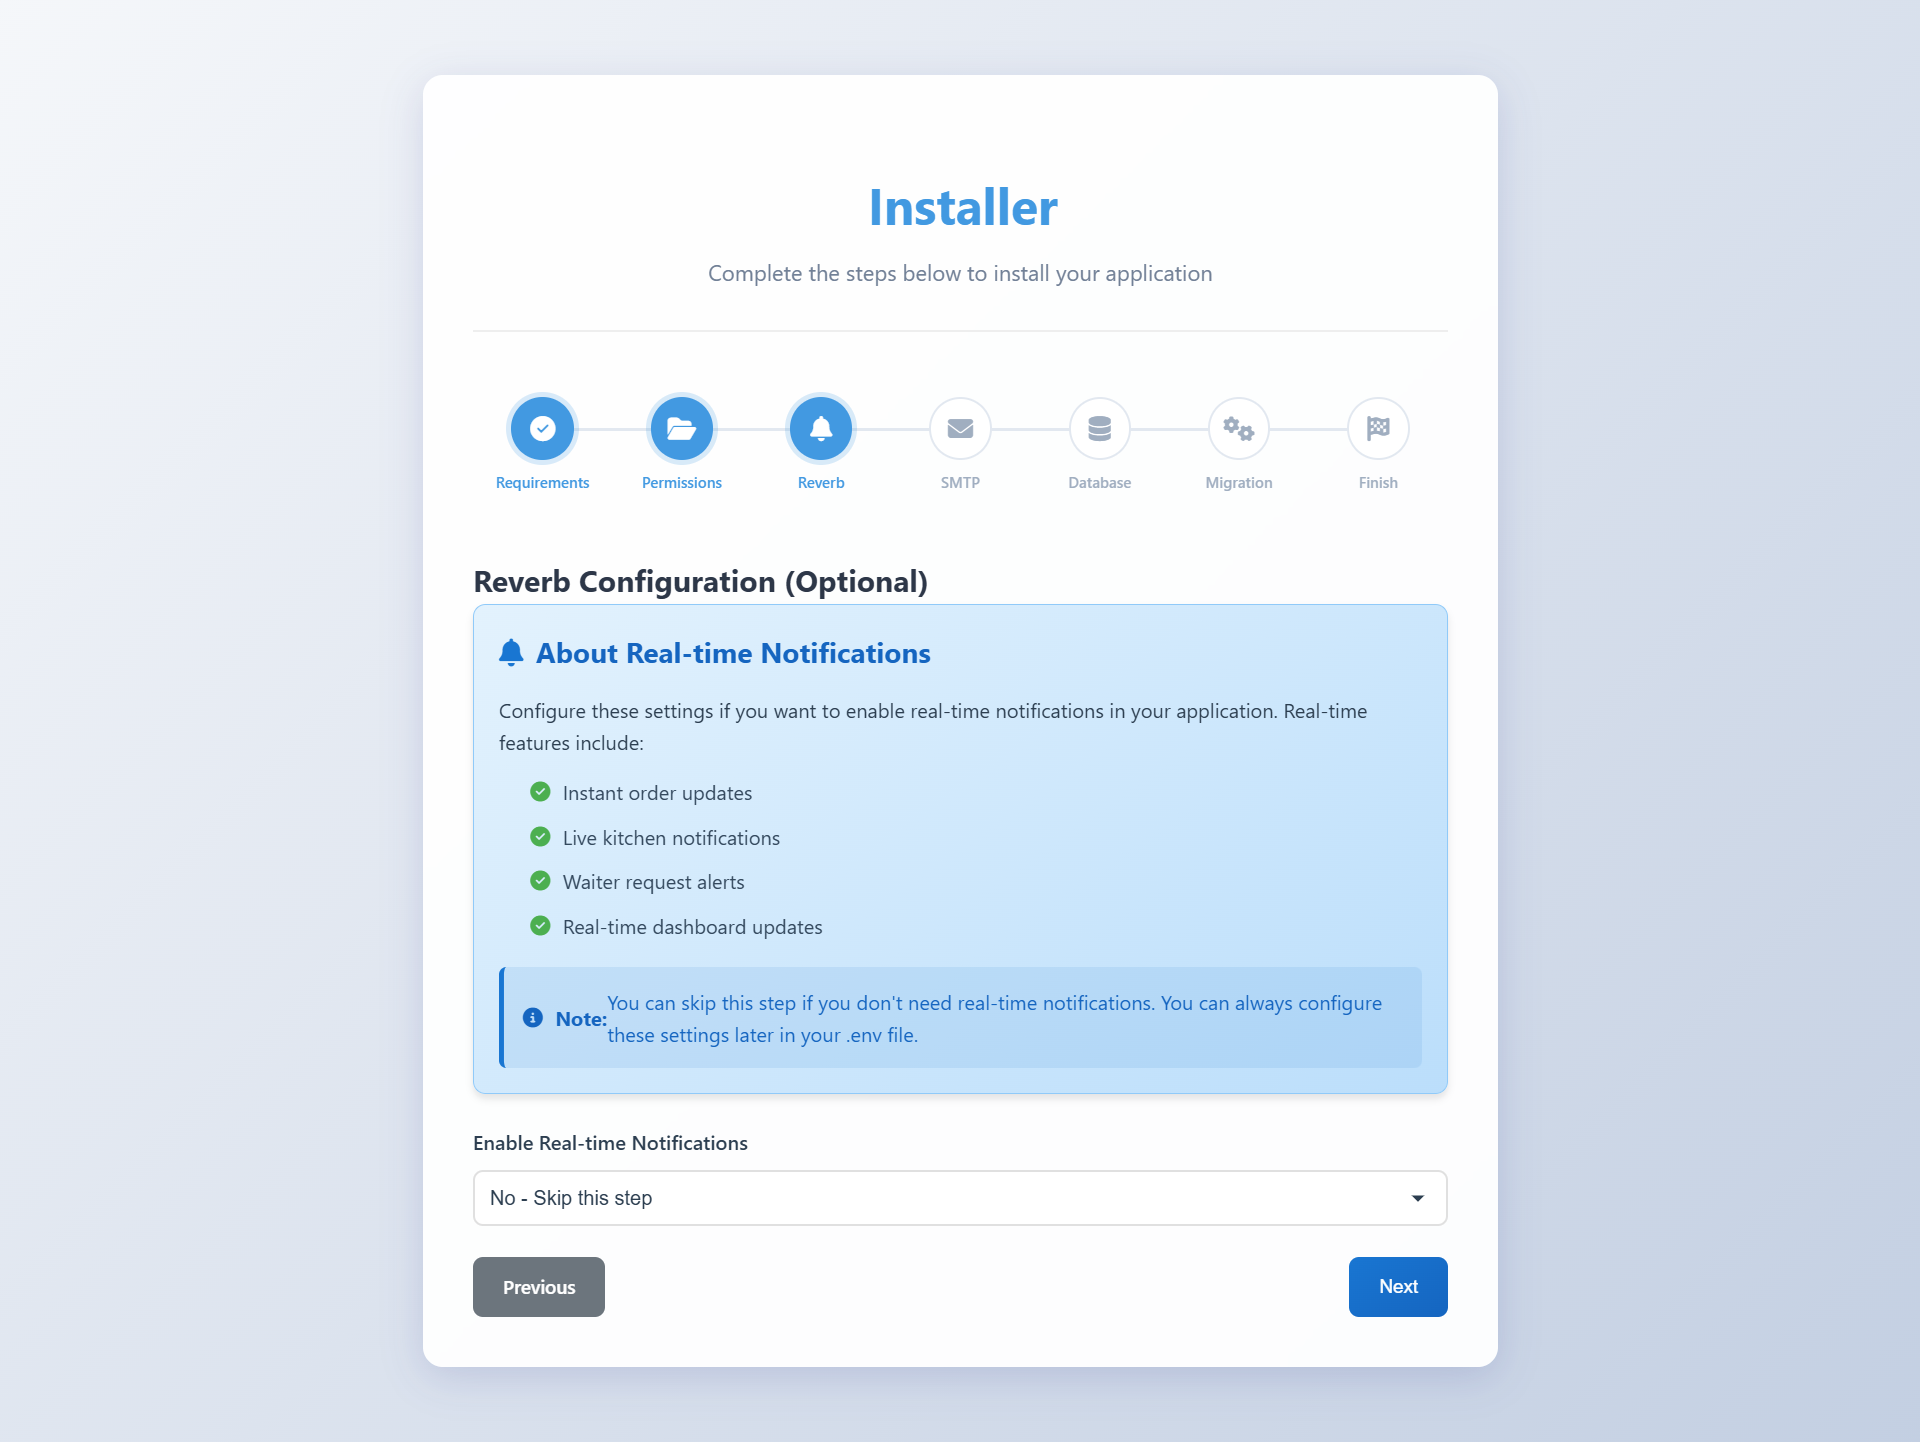
Reverb Configuration
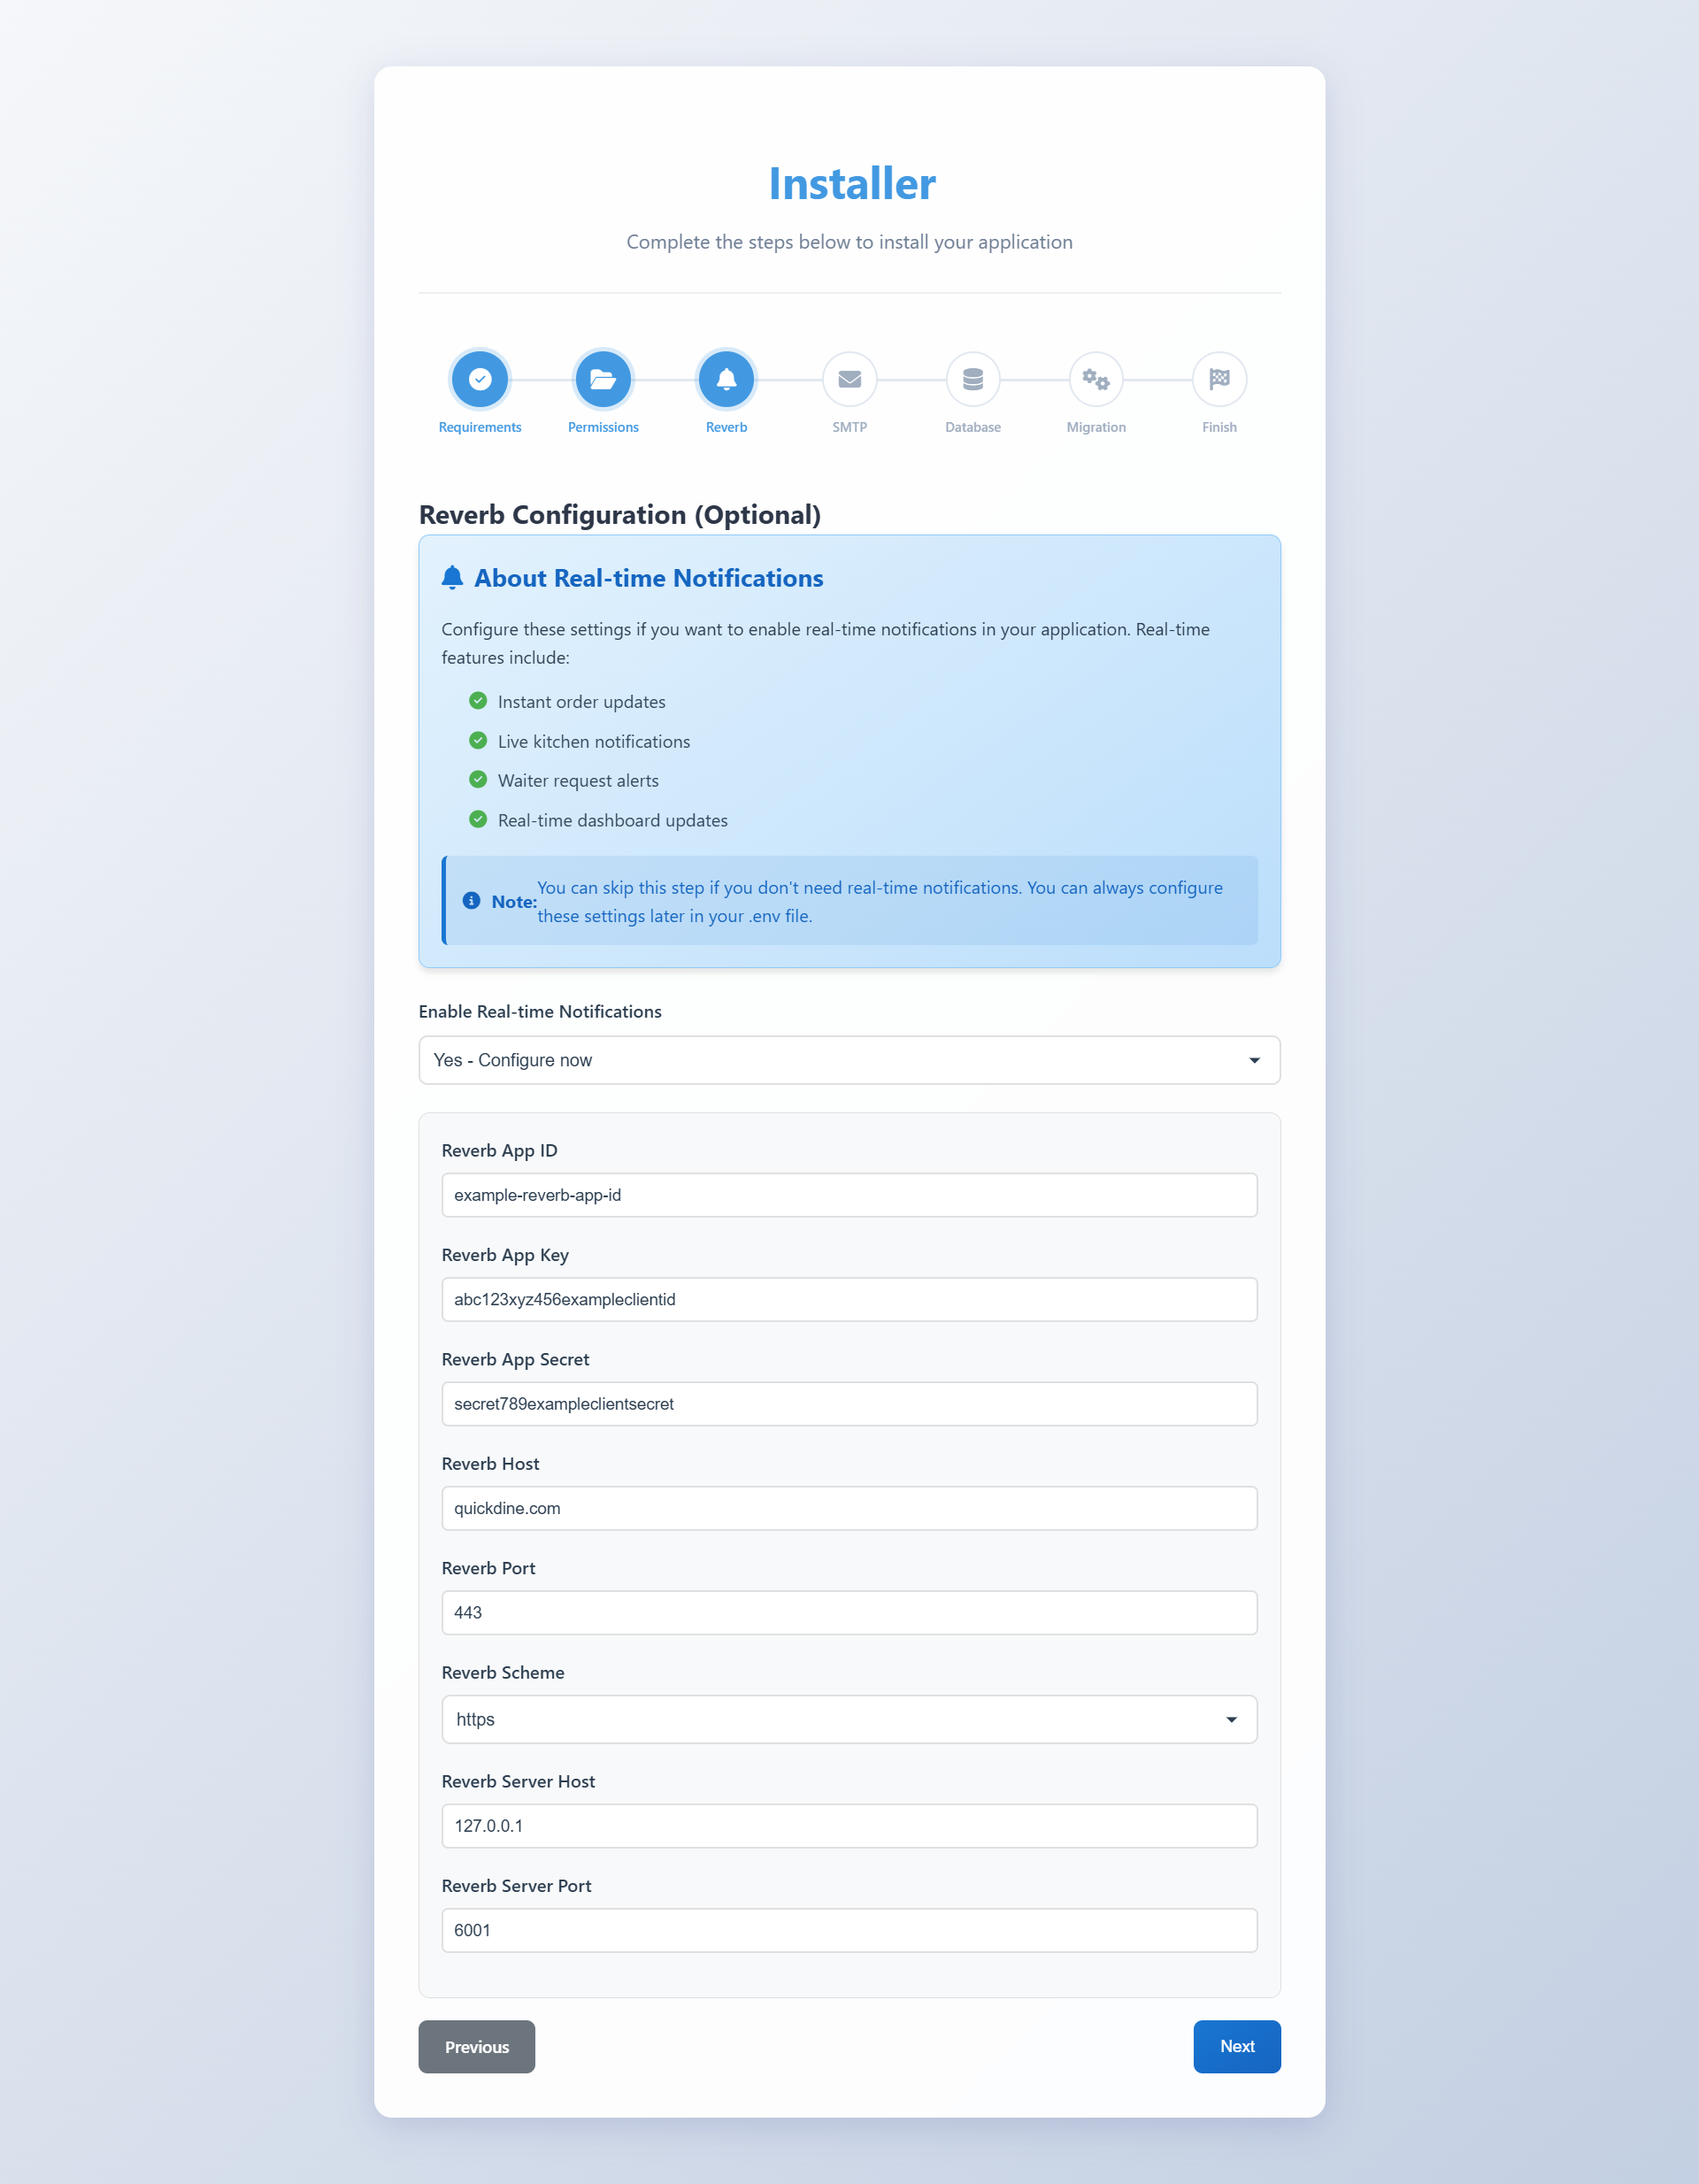
Manually Reverb Configuration
5 SMTP Configuration
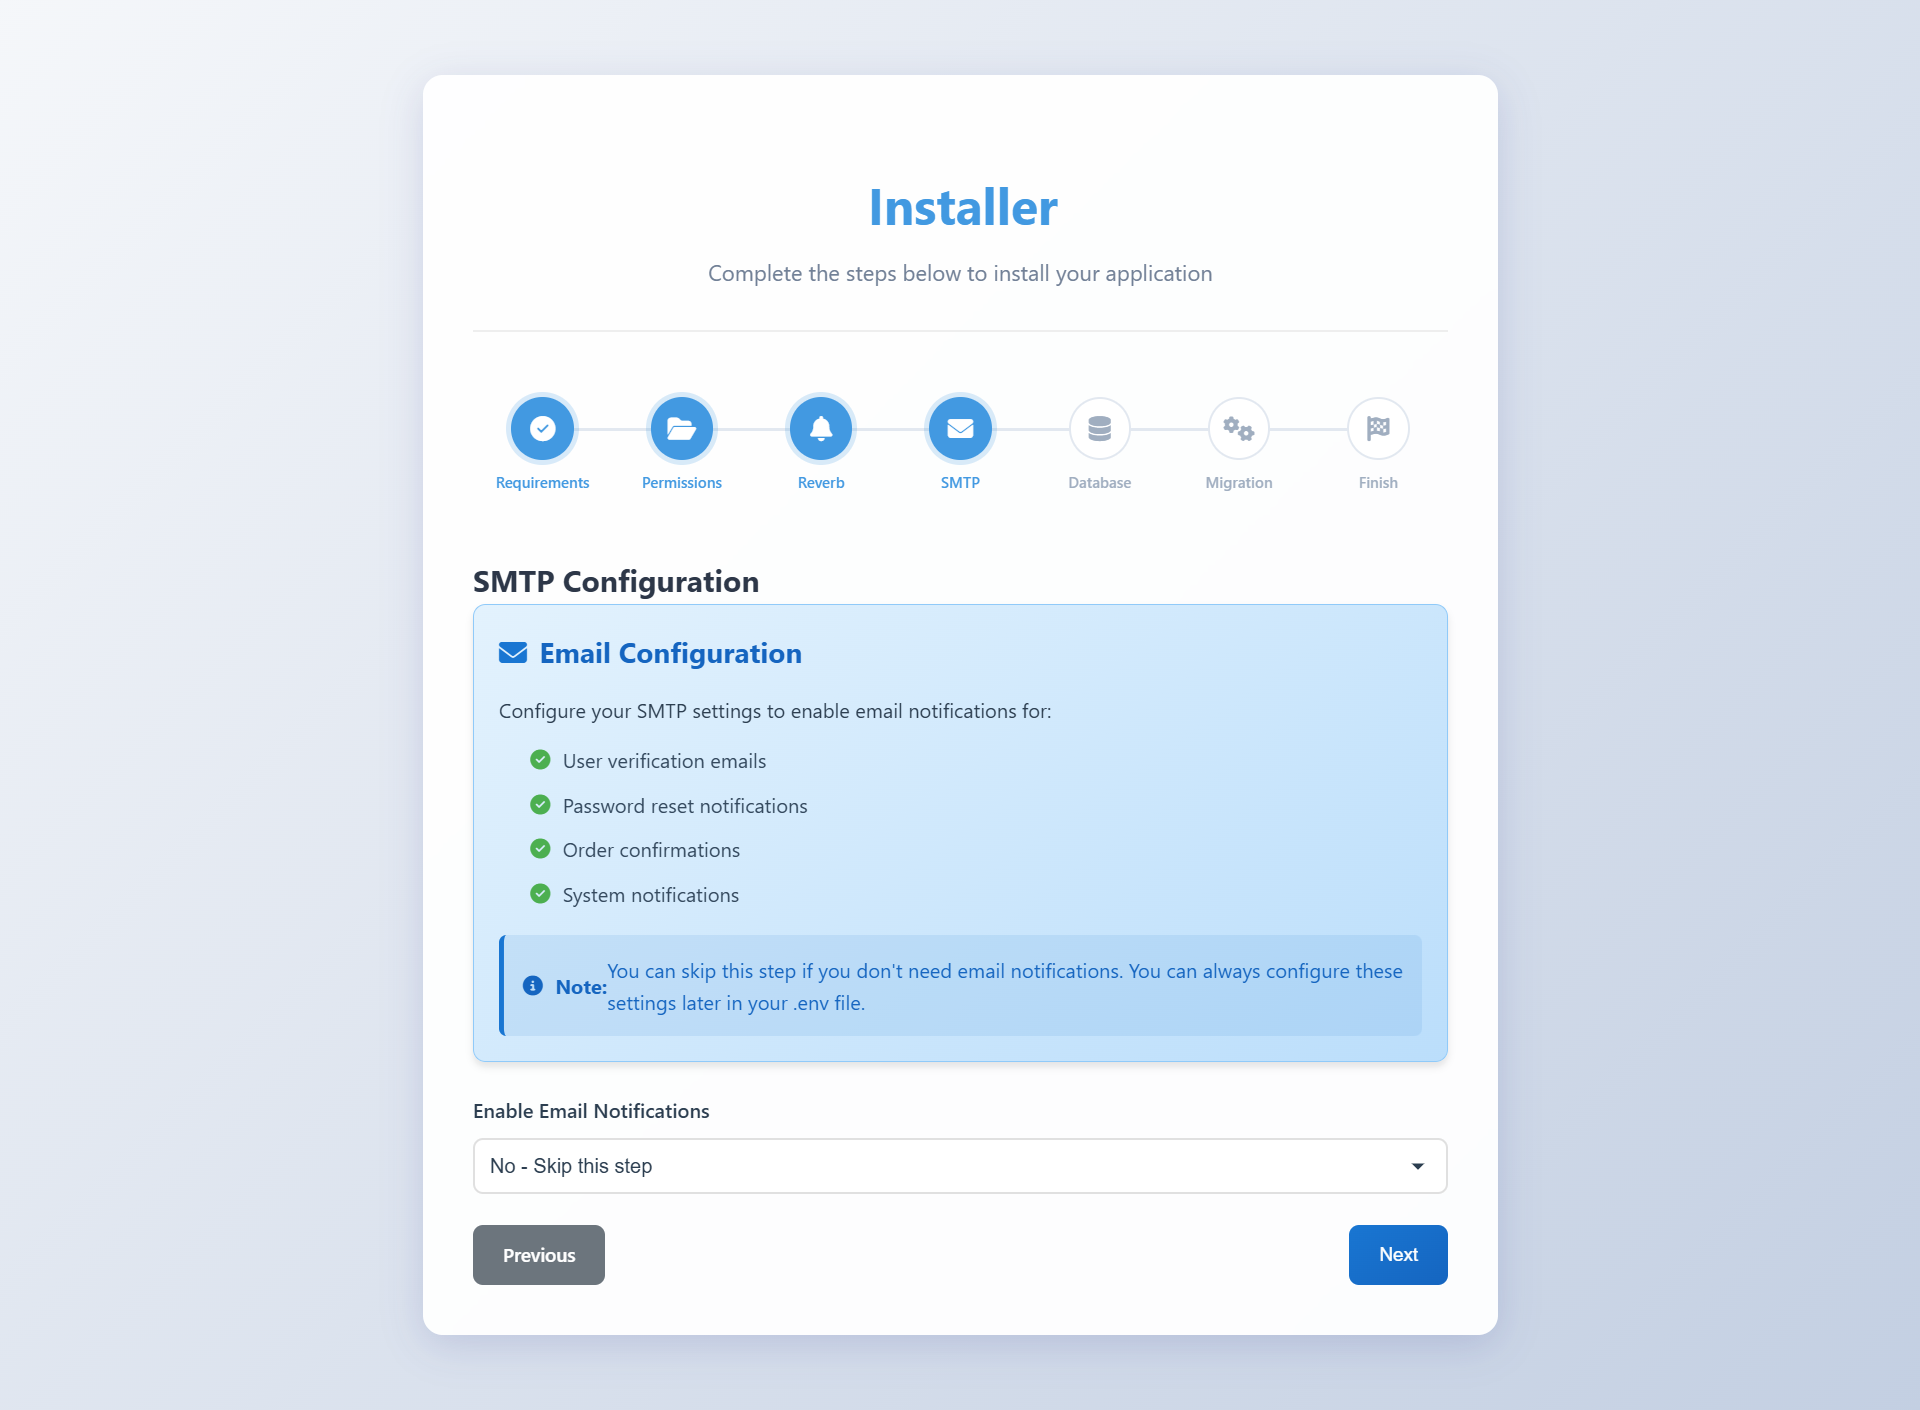
SMTP Configuration
Enter your SMTP Settings details:
- SMTP Host
- SMTP Port
- SMTP Username
- SMTP Password
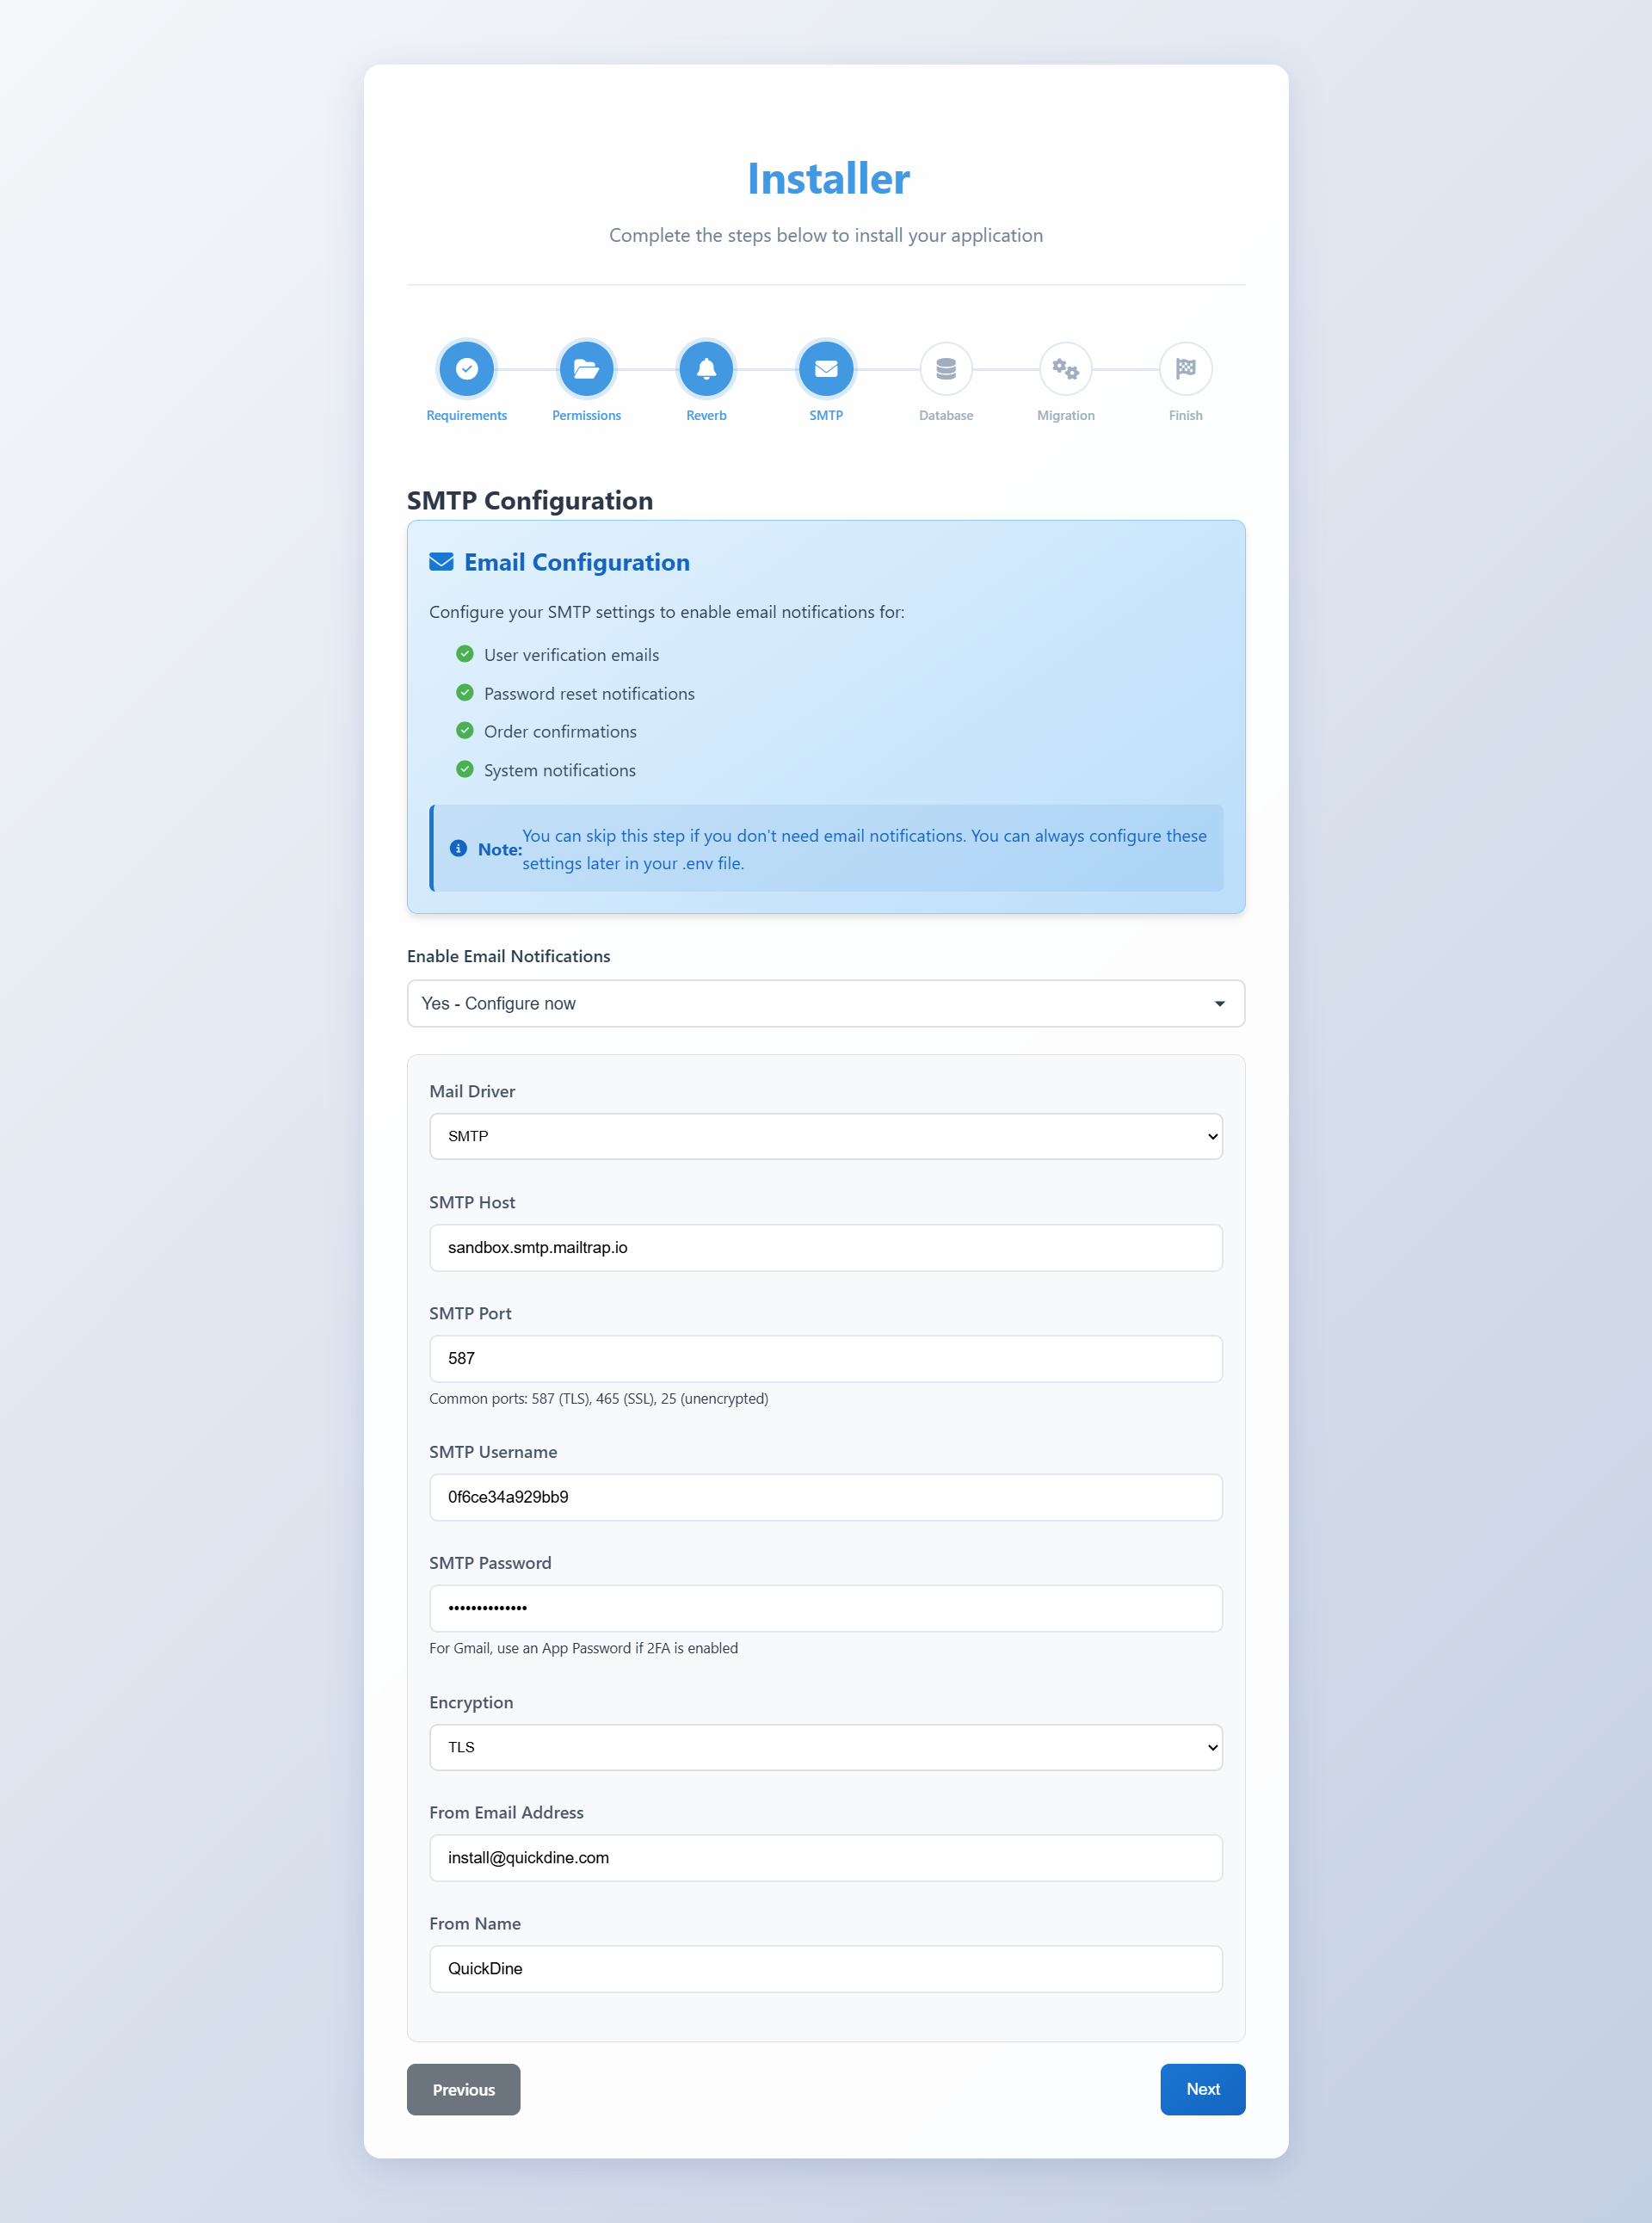
SMTP Configuration
6 Database Configuration
Enter correct Database Configuration:
- Application URL: e.g. www.quickdine.com
- Database Host
- Database Port
- Database Name
- Database Username
- Database Password
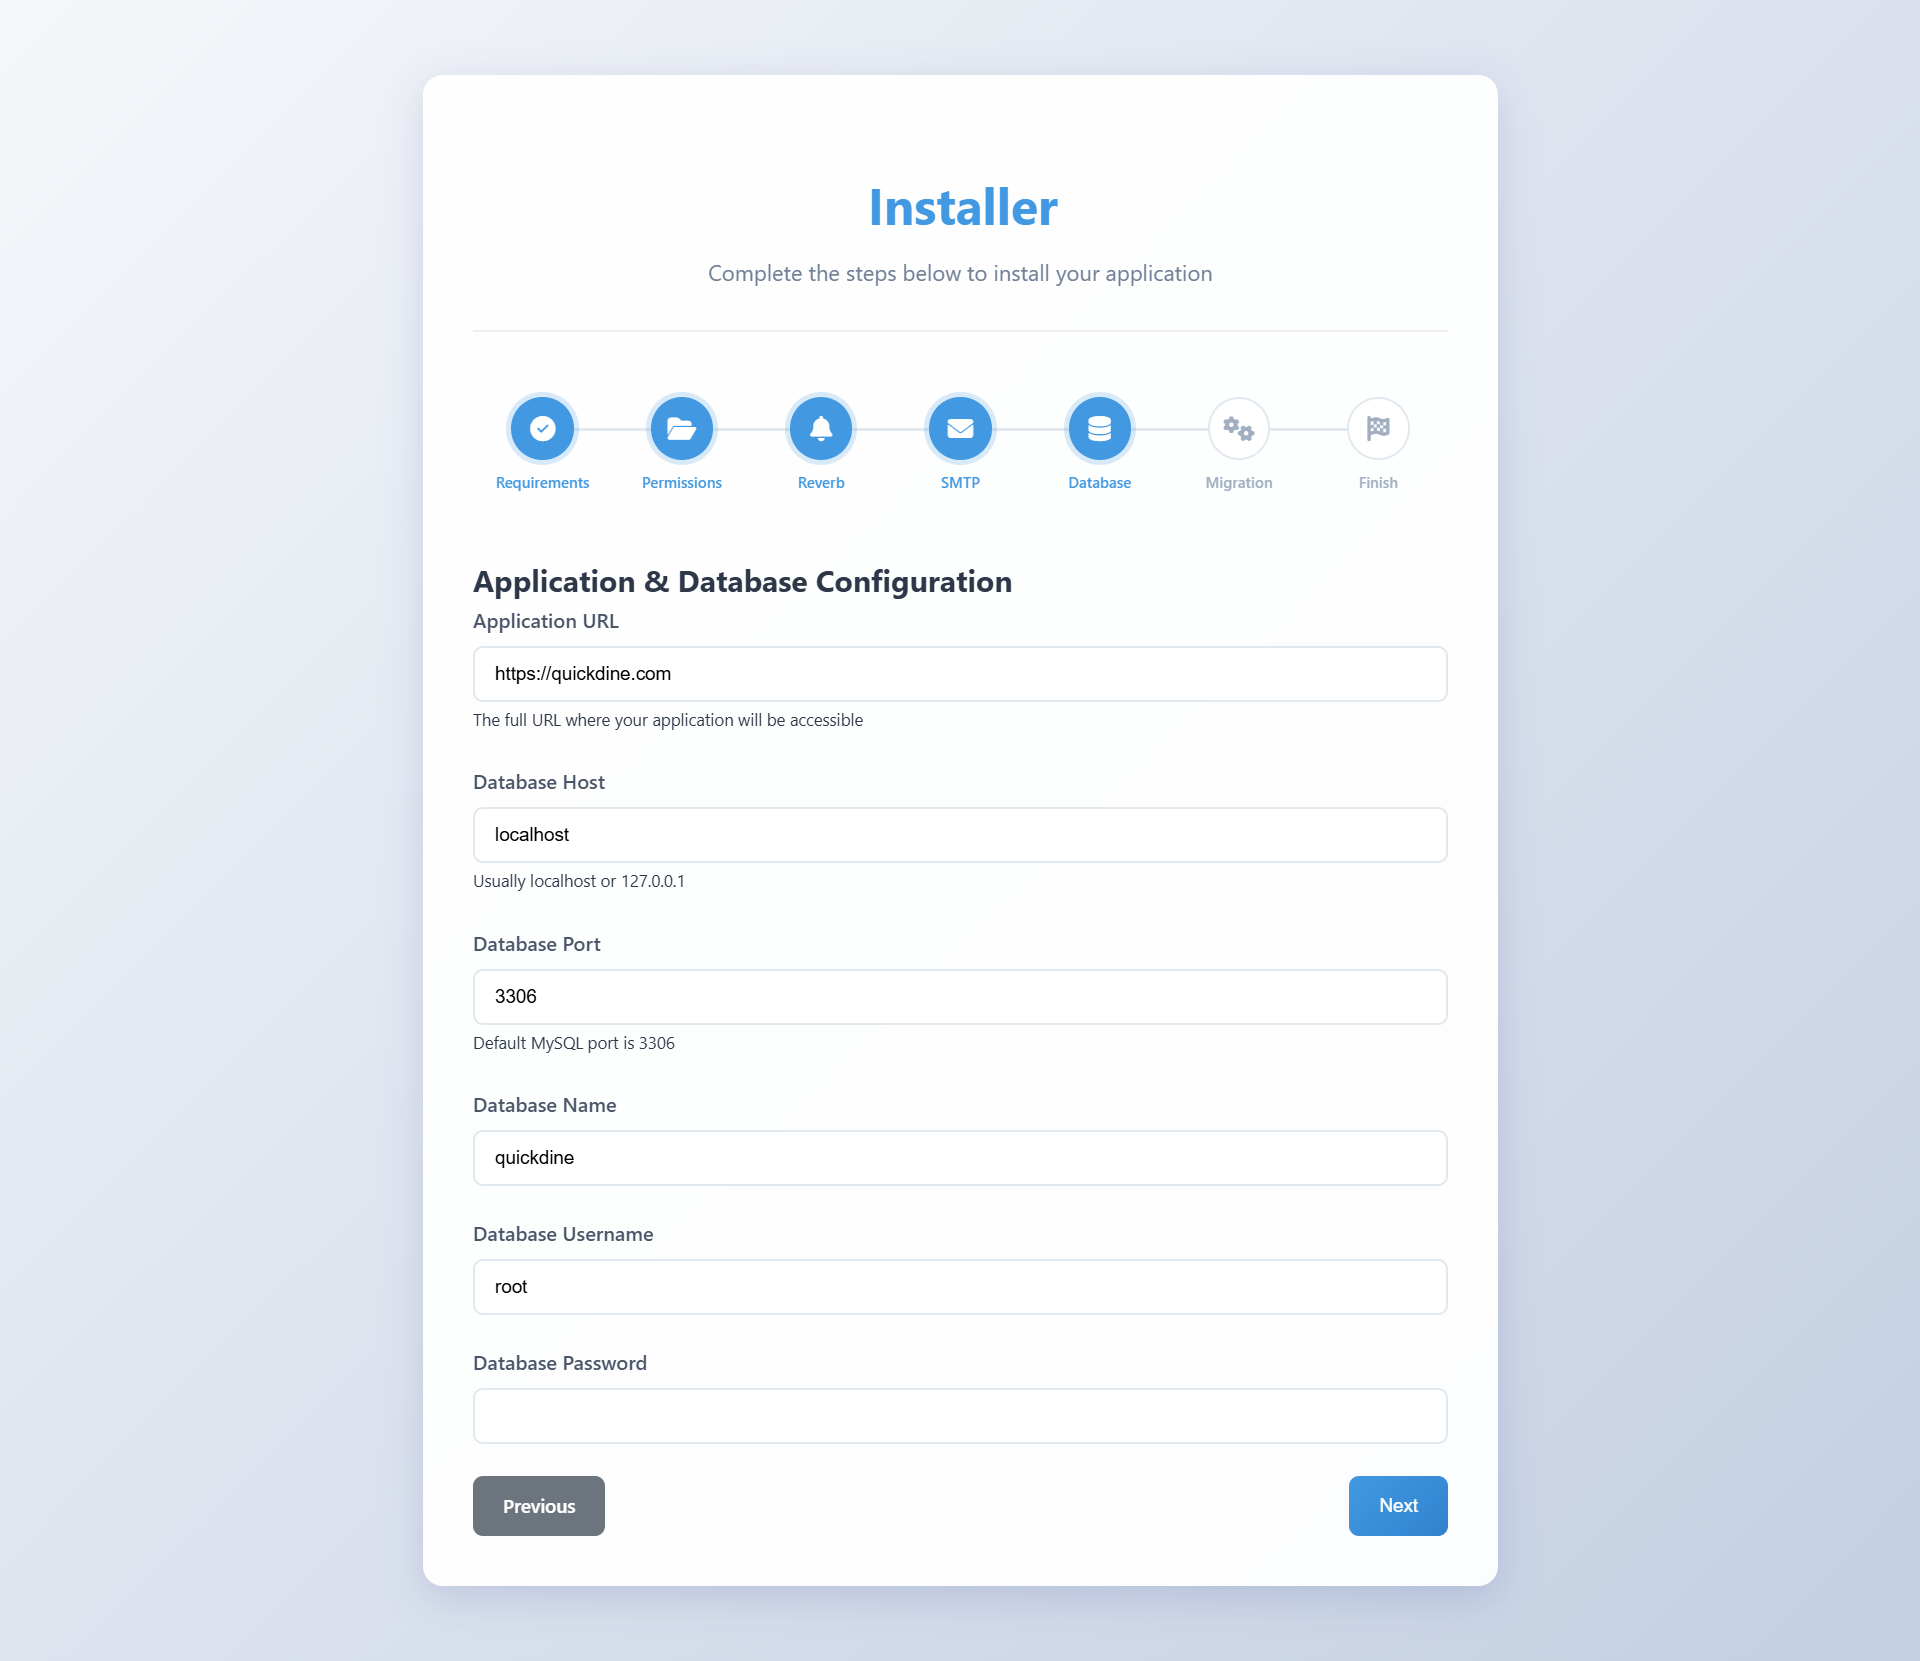
Database Configuration

Database Migration
7 Completion
Upon successful installation using the wizard, you will be redirected to the login page.
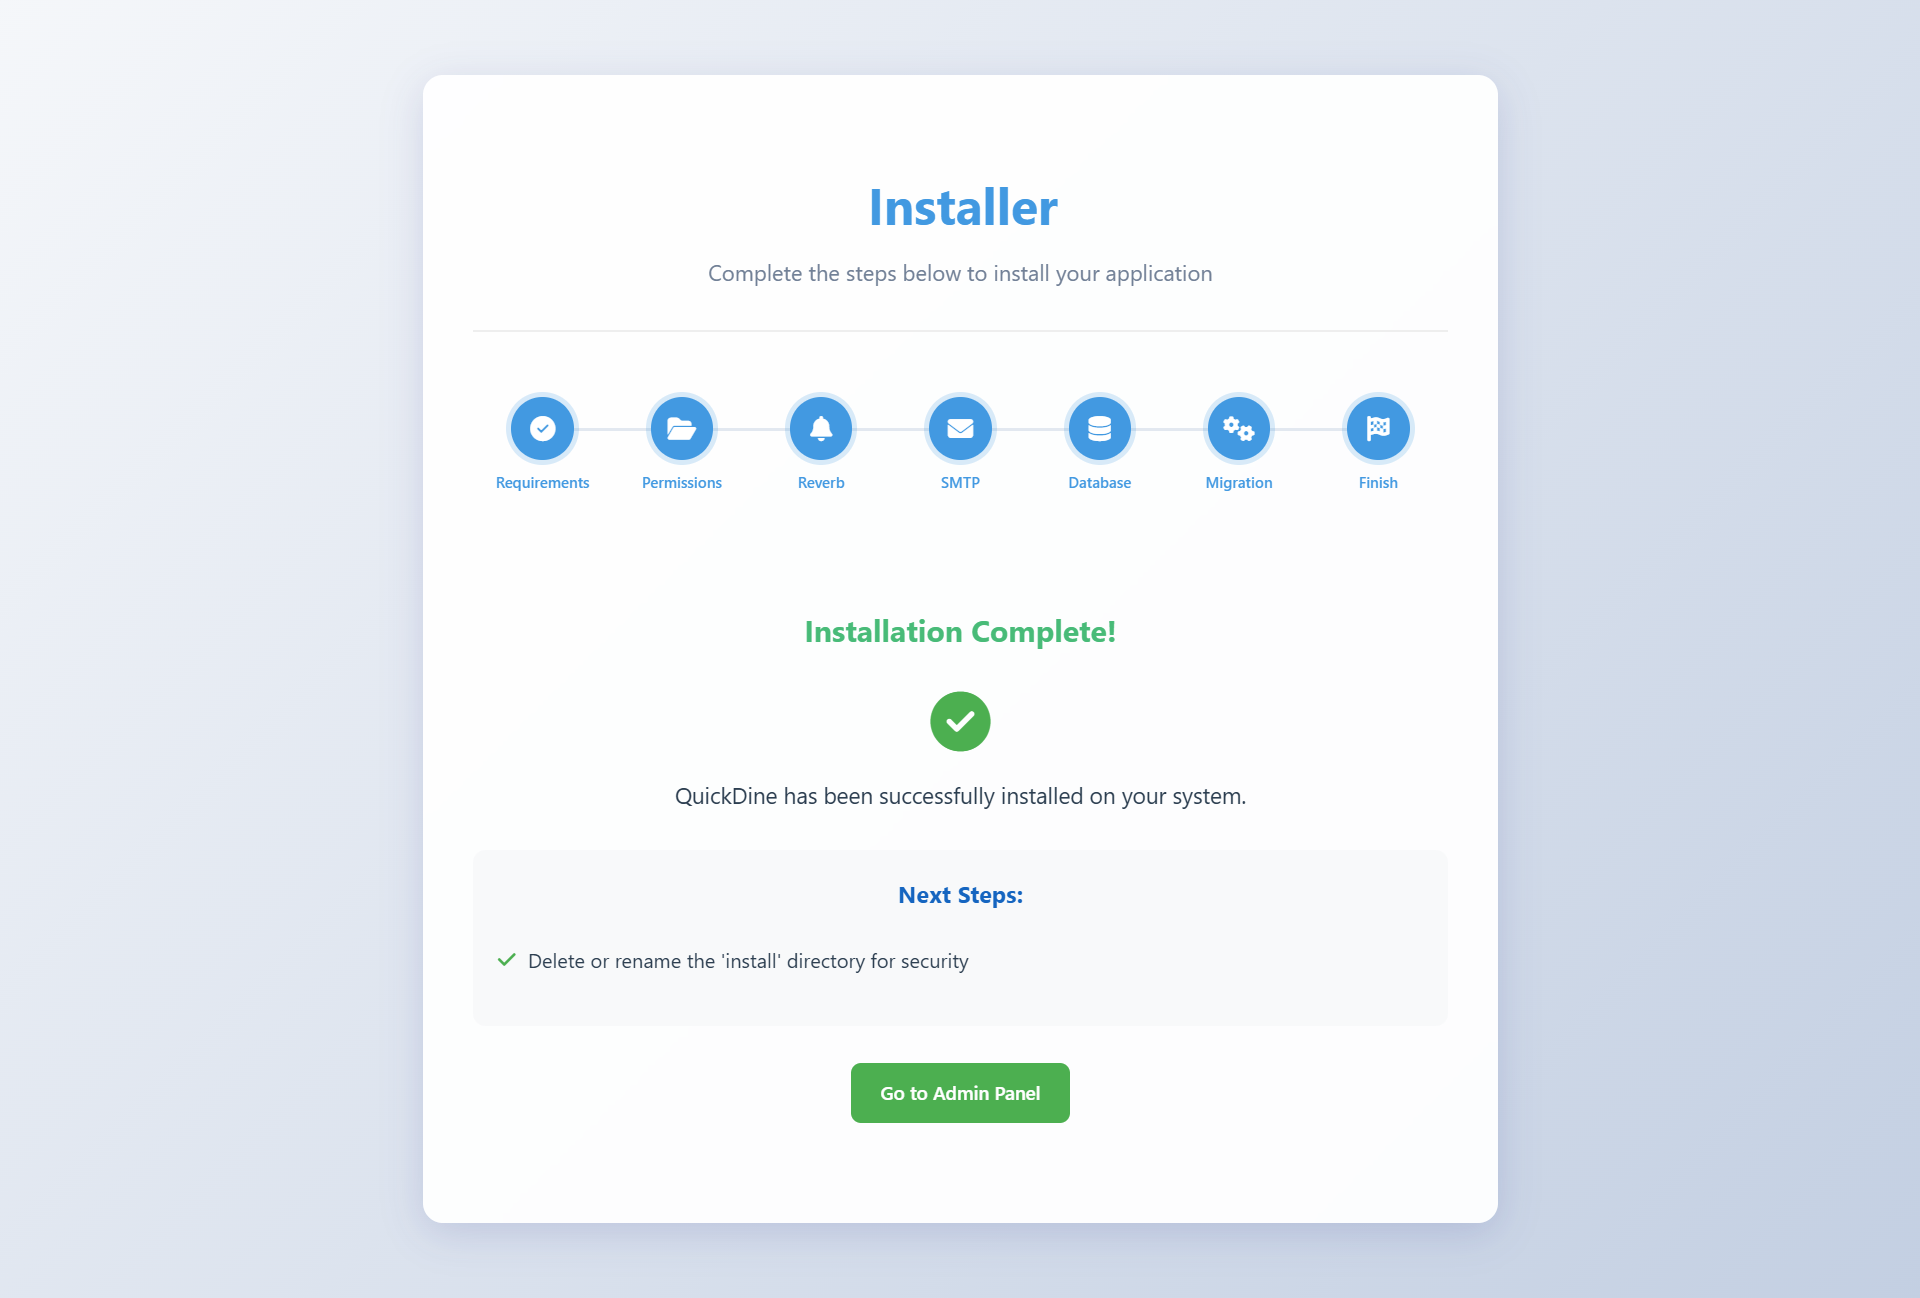
Installation Complete Screen
Congratulations! QuickDine has been successfully installed on your server via the wizard.
8 Compile Frontend Assets
After installation is complete, you need to compile the frontend assets for your QuickDine application:
- Return to your PowerShell or command line window that's open to your project directory
- Run the following command to compile and optimize all CSS and JavaScript assets:
npm run build
This command will compile all the necessary frontend resources and optimize them for production use. Wait for the process to complete, which may take a few minutes.
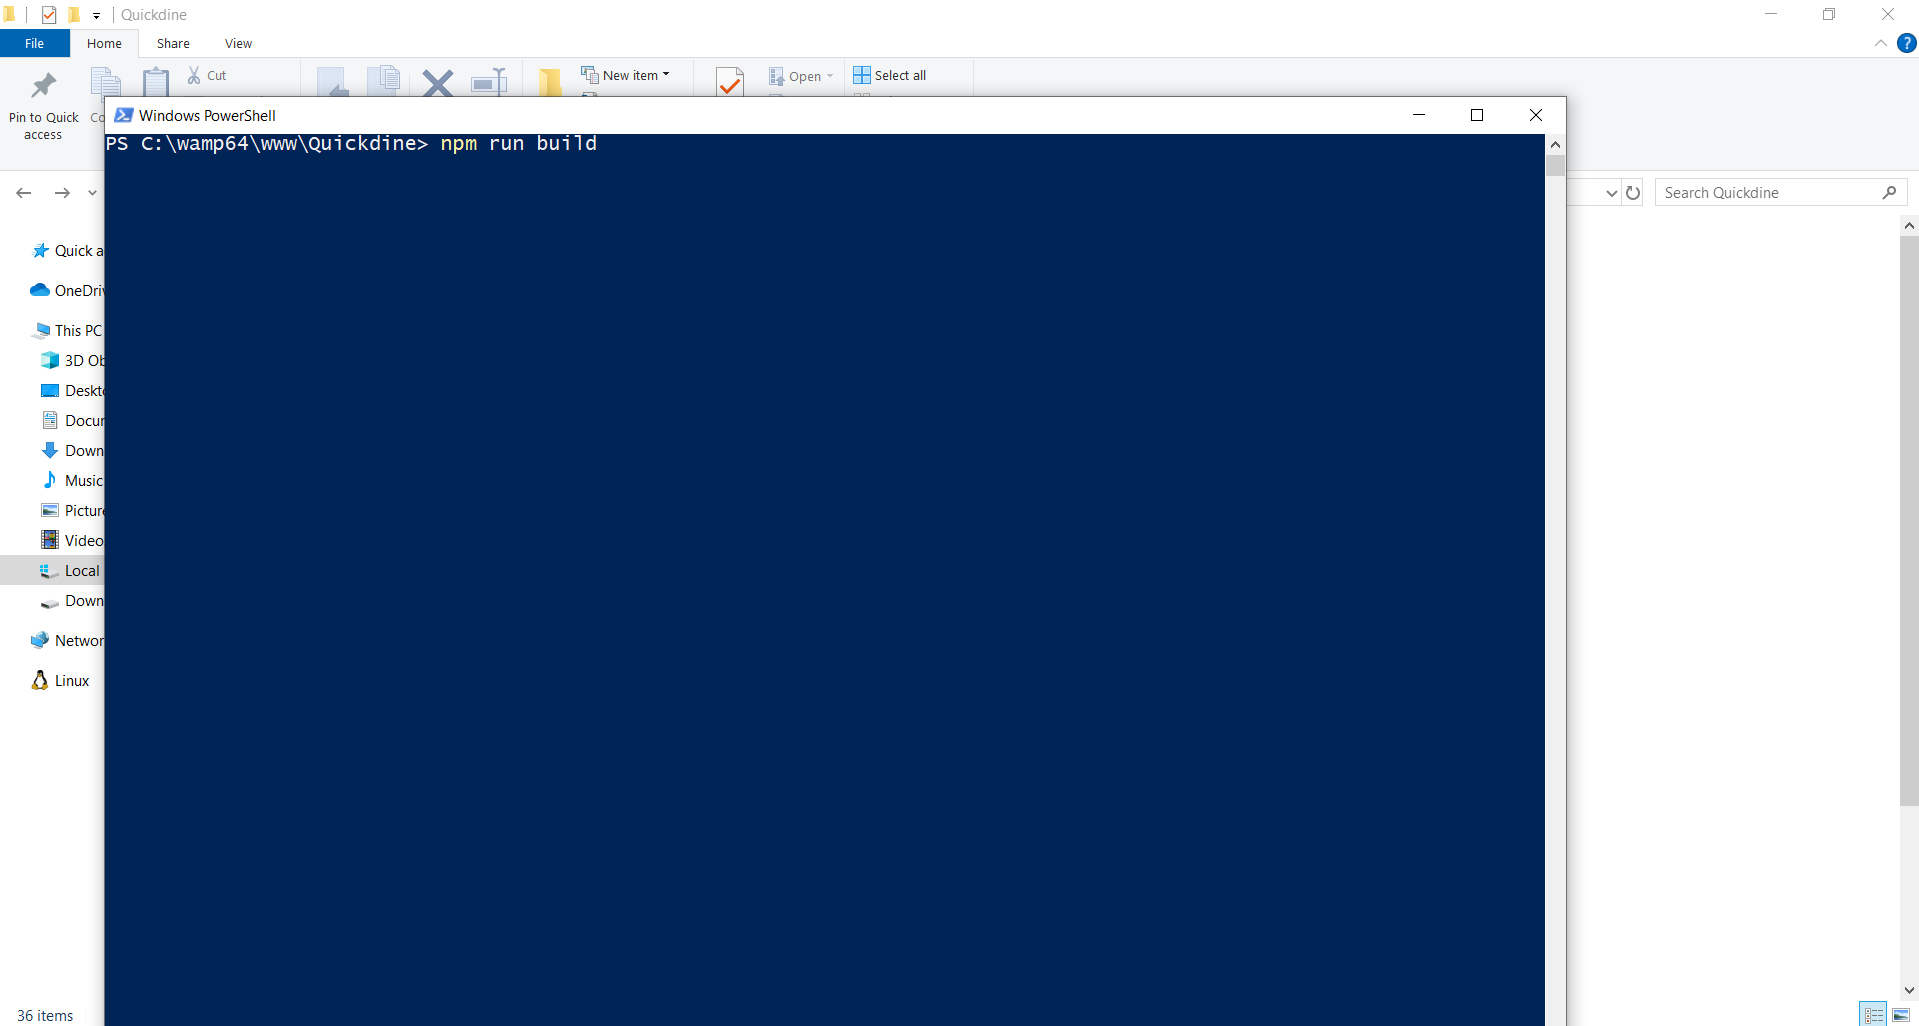
After installation complete, run the 'npm run build' command
The npm run build command optimizes your application's frontend assets for production by minifying CSS and JavaScript files, resulting in faster load times for your users.
Manual Installation
Follow these steps if you prefer to install QuickDine manually, typically for development environments.
1 Navigate to Project Directory
Open your command prompt or terminal and change the directory to where you have cloned or downloaded
the QuickDine (Laravel) project files. Replace quickdine-project with your actual
project
folder name.
cd path/to/quickdine-project
2 Install PHP Dependencies
Run Composer to install the required PHP libraries:
composer install
3 Setup Environment File
Copy the example environment file:
cp .env.example .env
Or on Windows:
copy .env.example .env
4 Generate Application Key
Generate a unique application key:
php artisan key:generate
5 Database Setup
Create a database (e.g., named quickdine_db) using your preferred database management
tool (like phpMyAdmin, Sequel Pro, MySQL Workbench, Laragon, XAMPP, WAMP).
Open the .env file you created in step 3 and update the database connection details:
DB_CONNECTION=mysql DB_HOST=127.0.0.1 DB_PORT=3306 DB_DATABASE=quickdine_db DB_USERNAME=your_db_username DB_PASSWORD=your_db_password
Replace quickdine_db, your_db_username, and your_db_password
with your actual database name, username, and password.
5.1 Configure Reverb Settings
In the same .env file, add the following Reverb configuration to enable real-time
functionality:
REVERB_SERVER=reverb REVERB_APP_ID=335192 REVERB_APP_KEY=mbbx4qbgmsr1vyq2bil8 REVERB_APP_SECRET=3xbhp1zfor34s2ccwc60 REVERB_HOST="127.0.0.1" REVERB_PORT=6001 REVERB_SCHEME=http REVERB_PATH=/
Notes:
REVERB_SERVER=reverb- No need to change this valueREVERB_APP_ID=335192- You can use this project ID or your ownREVERB_APP_KEYandREVERB_APP_SECRET- You can use these values or generate your own keysREVERB_HOST- For local development, leave as "127.0.0.1"; for production, use your server's IP or domain name
Now, run the database migrations and optionally seed the database:
To migrate the database structure:
php artisan migrate
If you set IS_DUMMY_DATA=true, also run the seeder:
php artisan db:seed
Alternatively, you can run both migration and seeding (if IS_DUMMY_DATA=true) in one
command (this will drop existing tables first):
php artisan migrate:fresh --seed
6 Install Node.js Dependencies
Install the required JavaScript packages:
npm install
7 Build Frontend Assets
Compile the CSS and JavaScript files. Choose one of the following commands:
For development (single build):
npm run dev
For production (minified build):
npm run build
To watch for changes and automatically rebuild during development:
npm run watch
8 Run the Development Server
Start the local PHP development server:
php artisan serve
You should now be able to access the application in your browser, usually at
http://127.0.0.1:8000.
9 Login Credentials
If you seeded the database with dummy data, you can use the following default credentials:
Super Admin Login:
- Username:
[email protected] - Password:
admin@123
Admin Login:
- Username:
[email protected] - Password:
admin@123